Par-Tay Weekend with some Blueberry Lavender Lemonade!

Lemonade pitcher

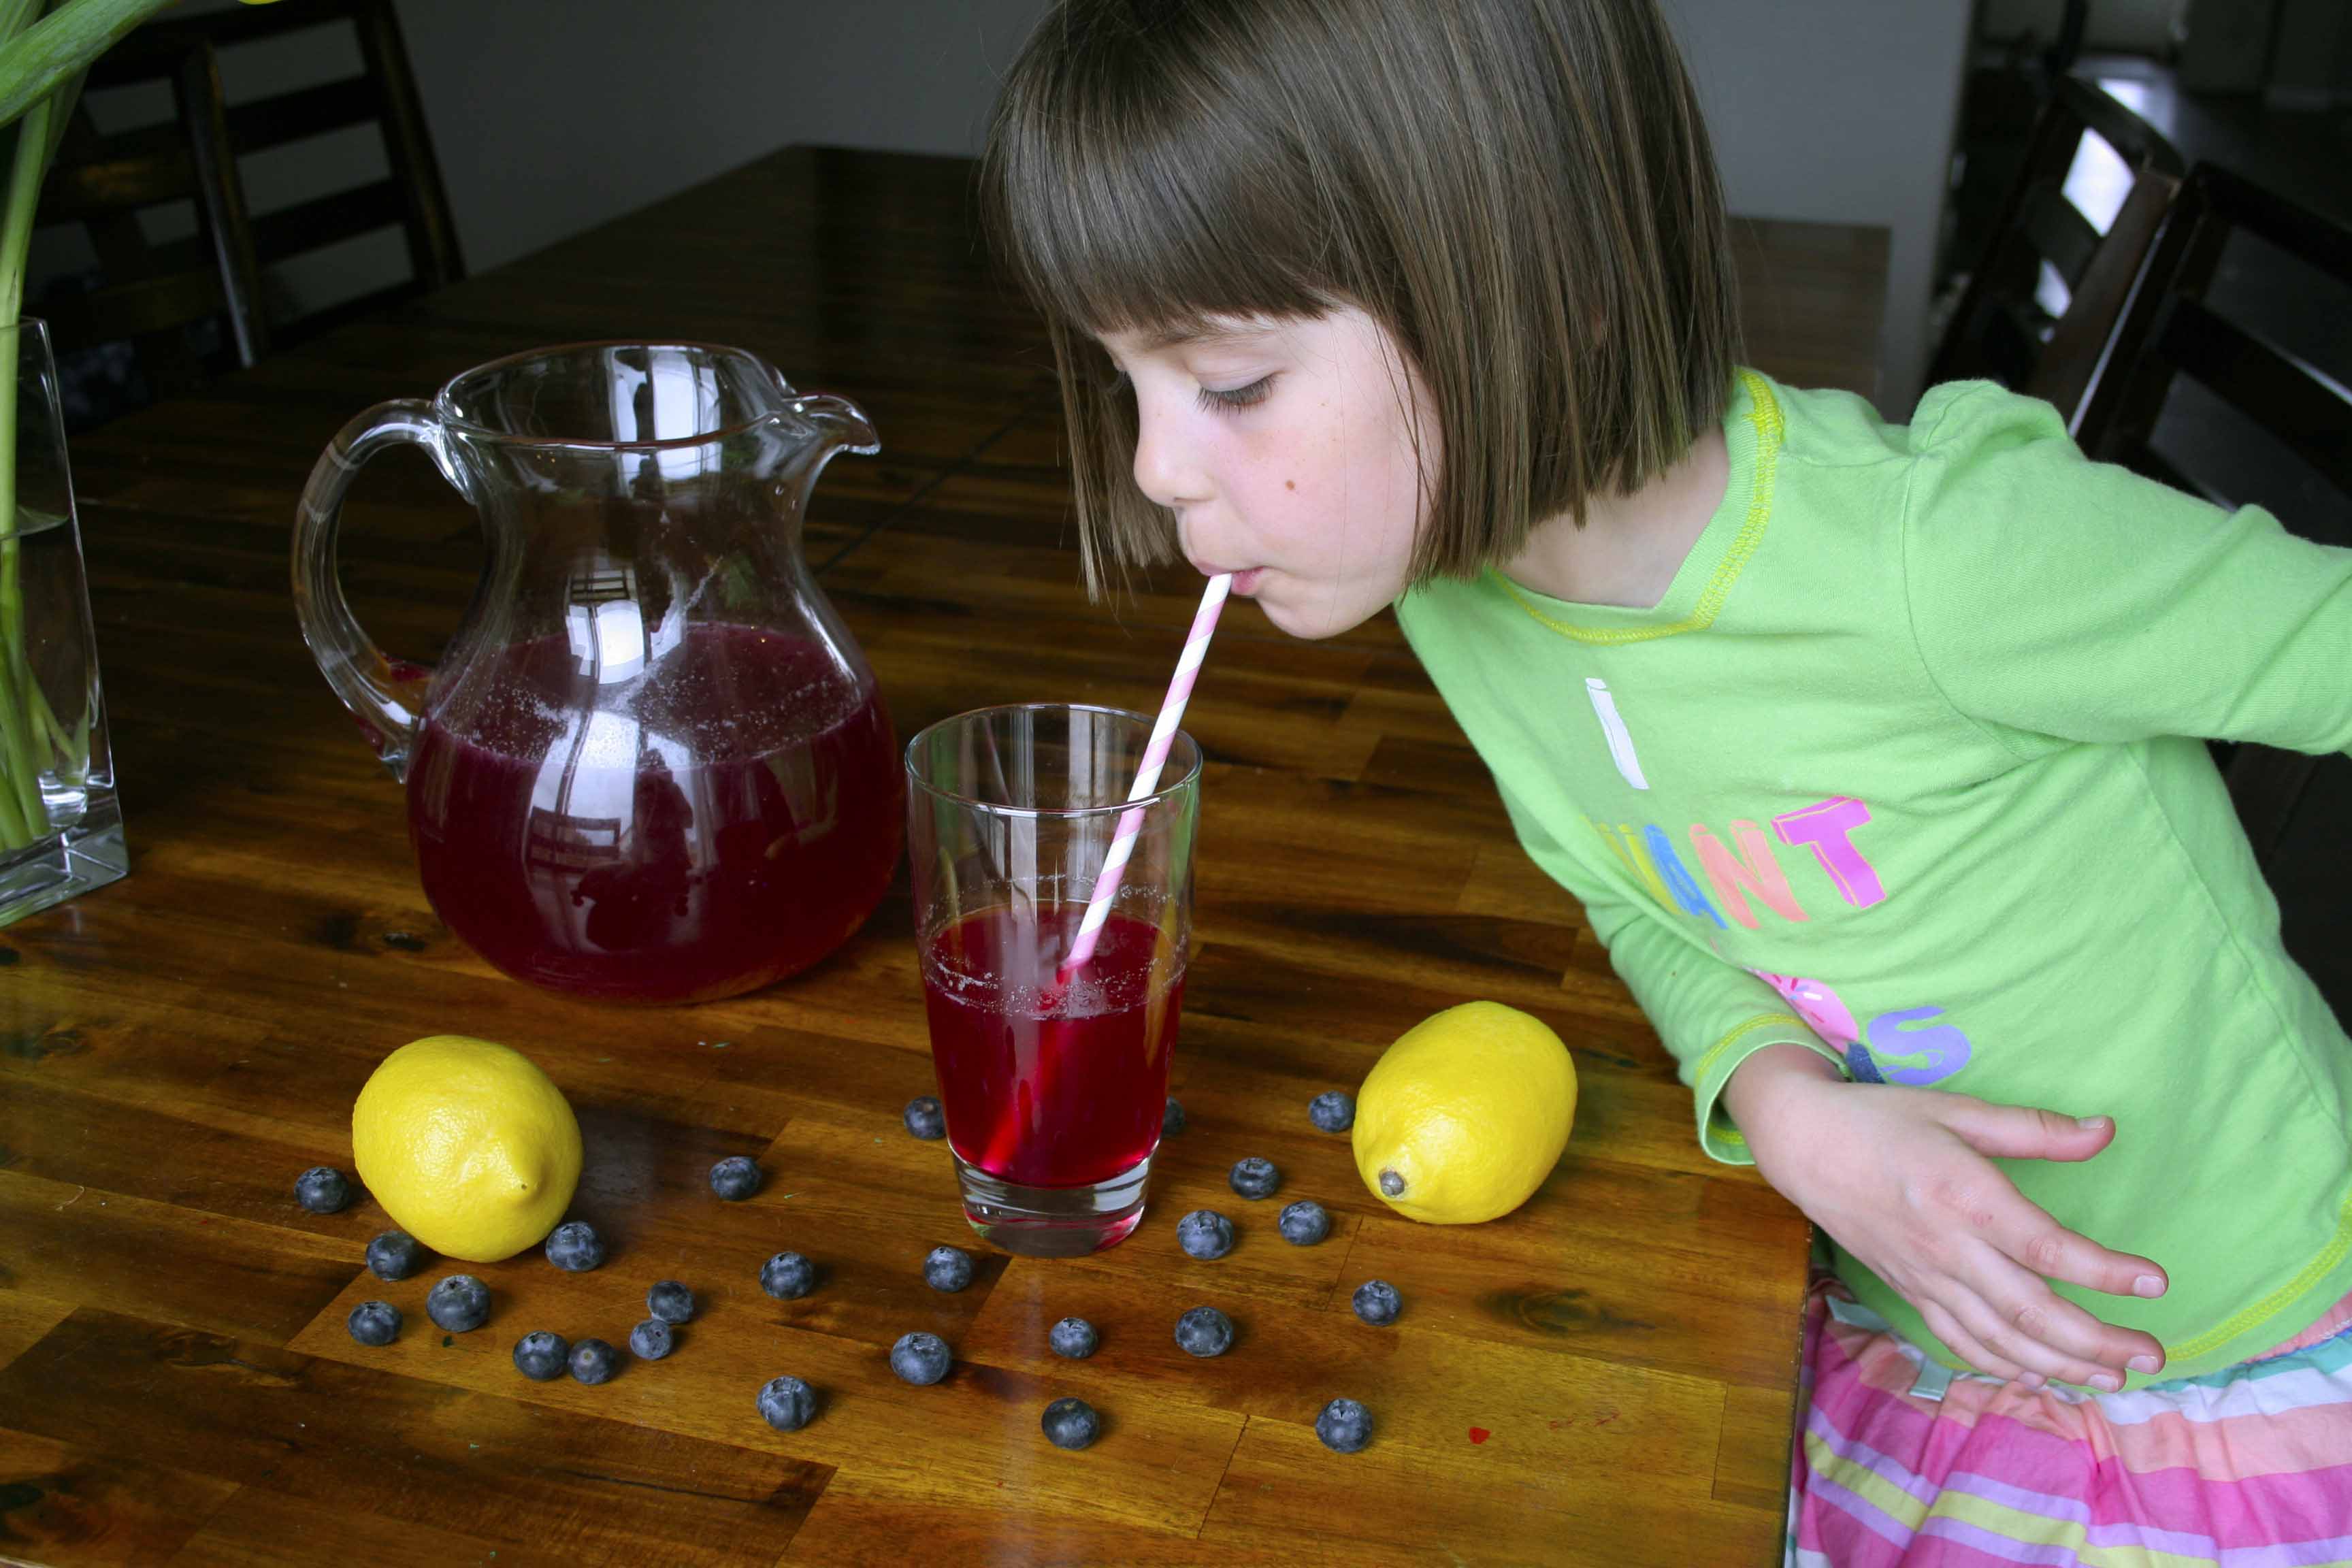
Can you guess what we’re in for this weekend?!?! The kids are turning 7 (has it truly been that long????), and each day this weekend is filled with something birthday related. It sure is funny what a “party weekend” looks like now that we’re parents. Long gone are the late nights, fruity drinks, and 2am bagel bites (that is the best time to eat bagel bites). Now we’re onto mid-day themed parties, kid friendly finger foods, and pin-the-whatever-on-the-whatever the theme is.

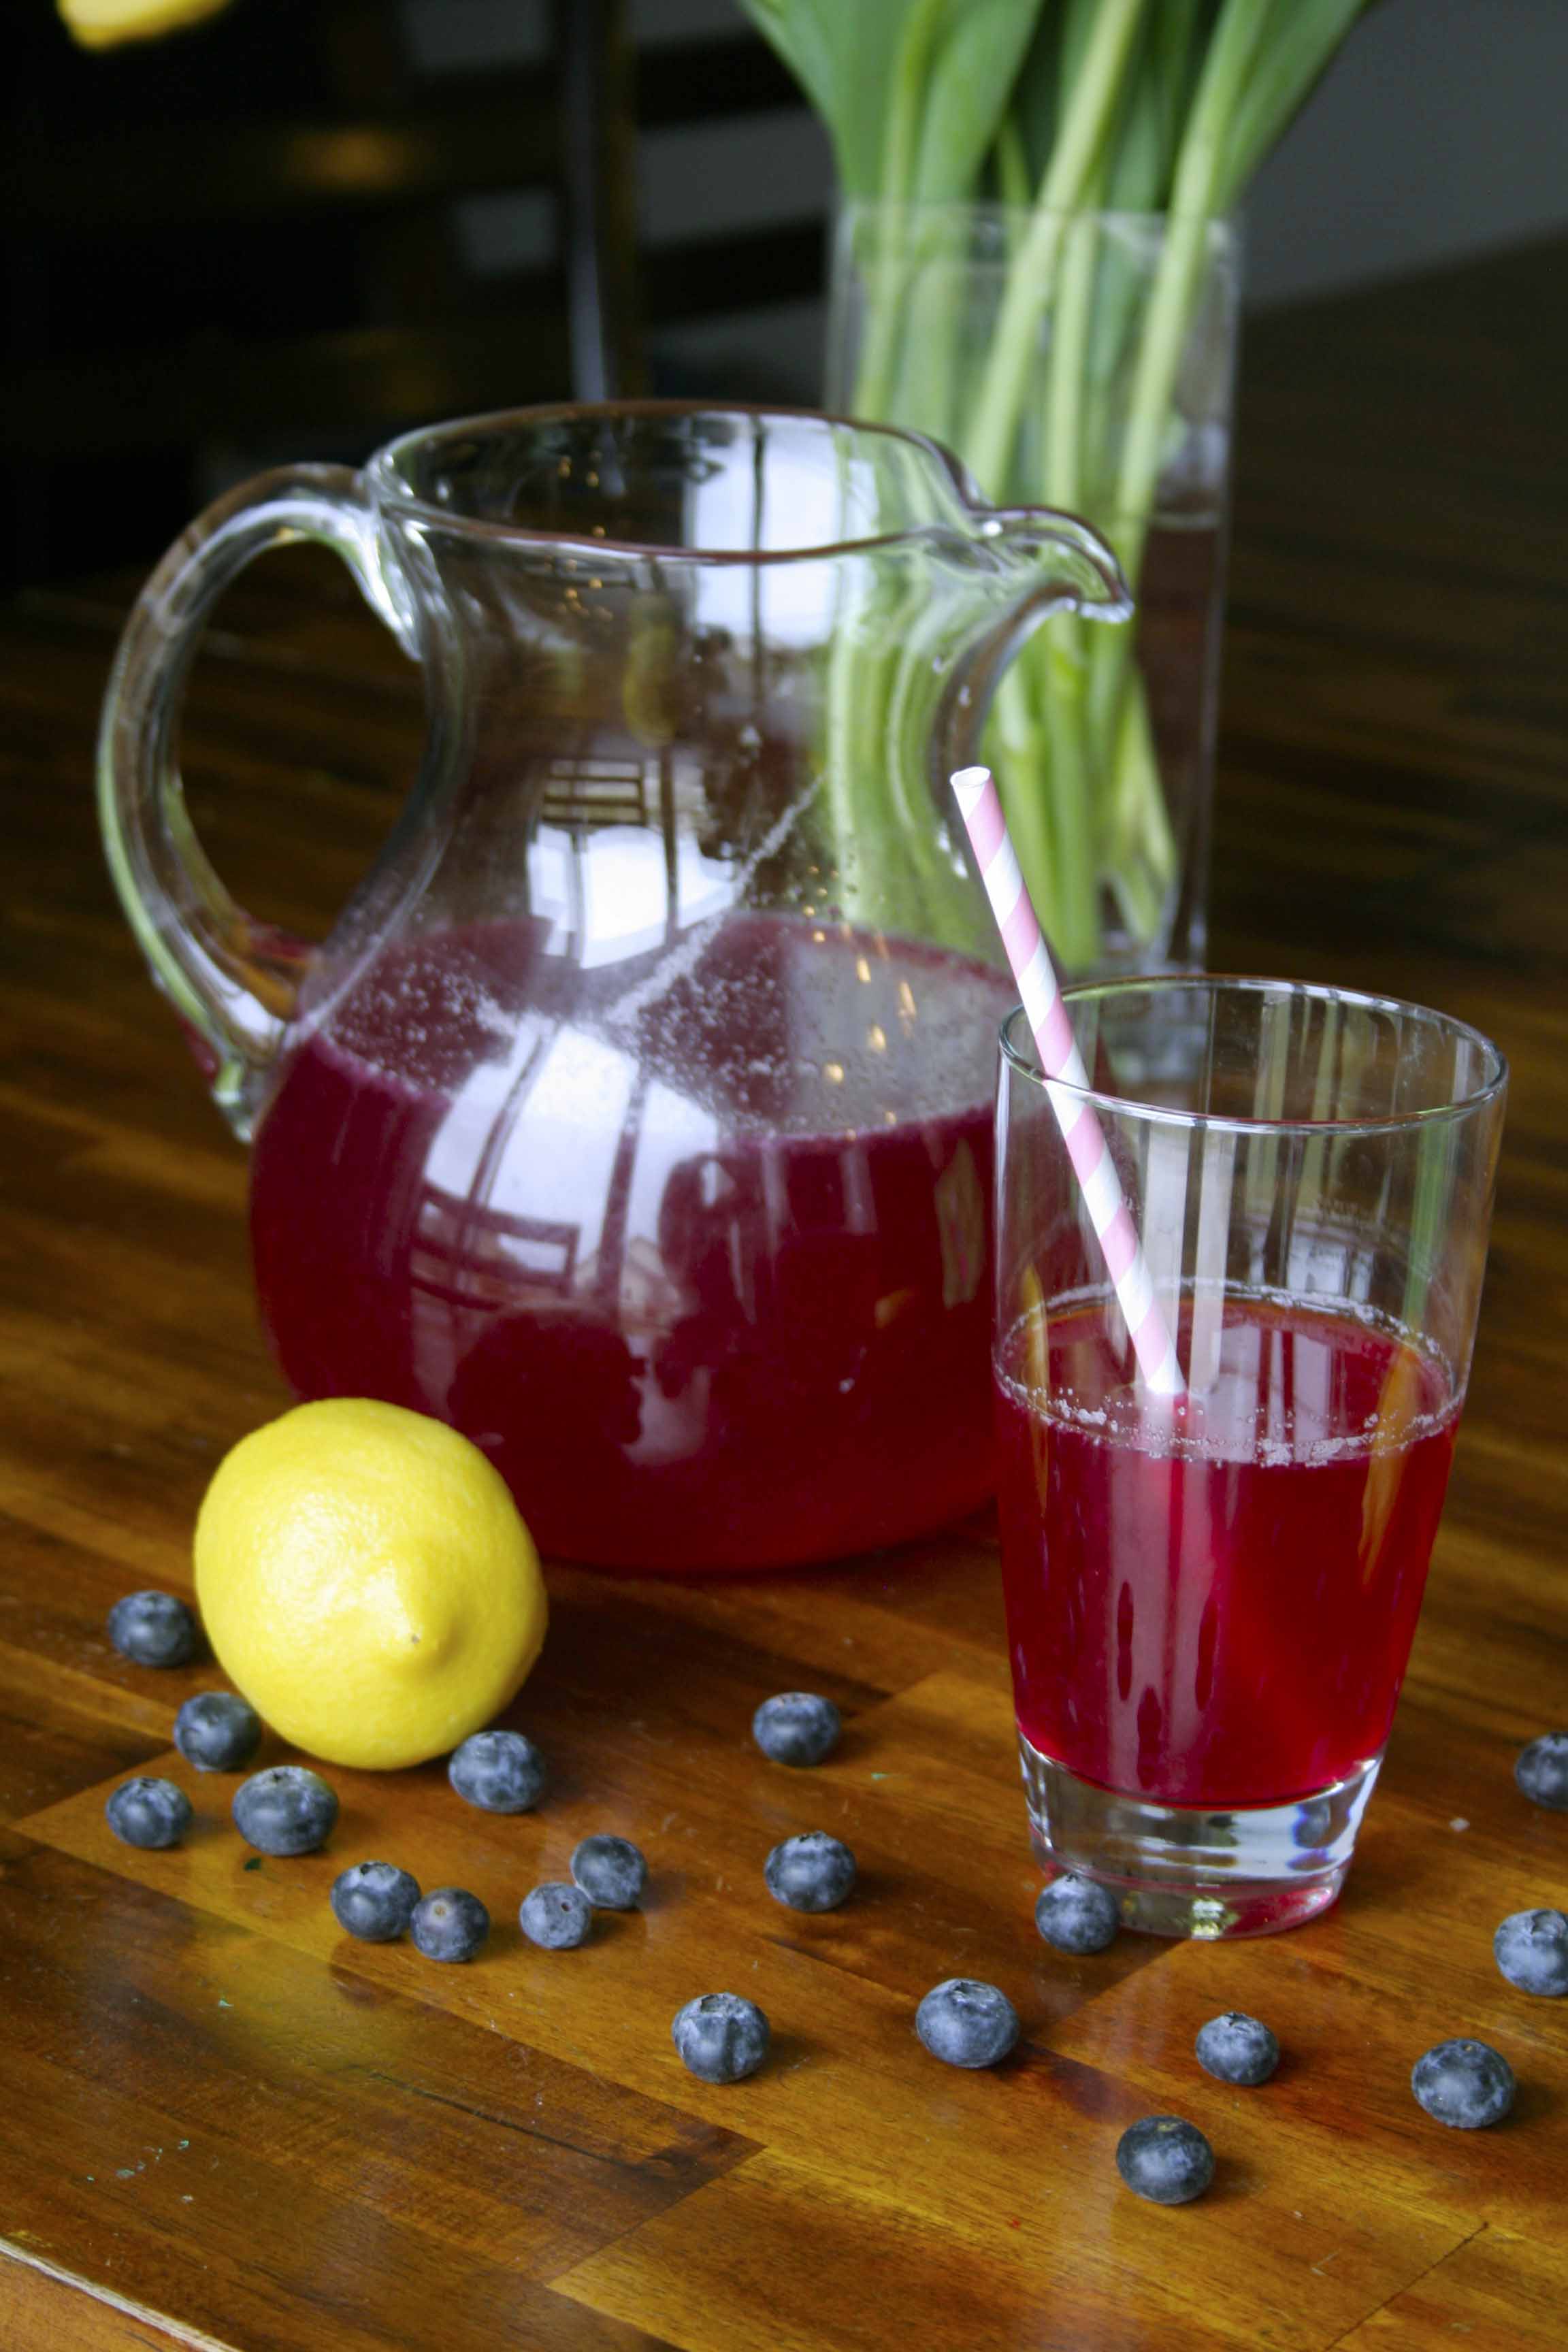
Lucky for the kids, I do like to make things for parties! We love fun drinks…uhh…who doesn’t? So, keeping with my crazy lemon theme lately (what is that even about??), we whipped up a batch of lemonade. But, of course, we can’t stick with just regular ol’ lemonade, can we? Of course not! I love lavender lemonade, and I had a bunch of dried lavender left over from last summer (both from a friend and from stripping my own poor little lavender plants!), but I wanted to take it a bit further. I did a quick search on Pinterest, and I found this great little posting on Oh Happy Day that has three different lemonade recipes. They all sound delish, but I already had all of the ingredients for the third one, so Blueberry Lavender Lemonade it was!

Lemonade close up

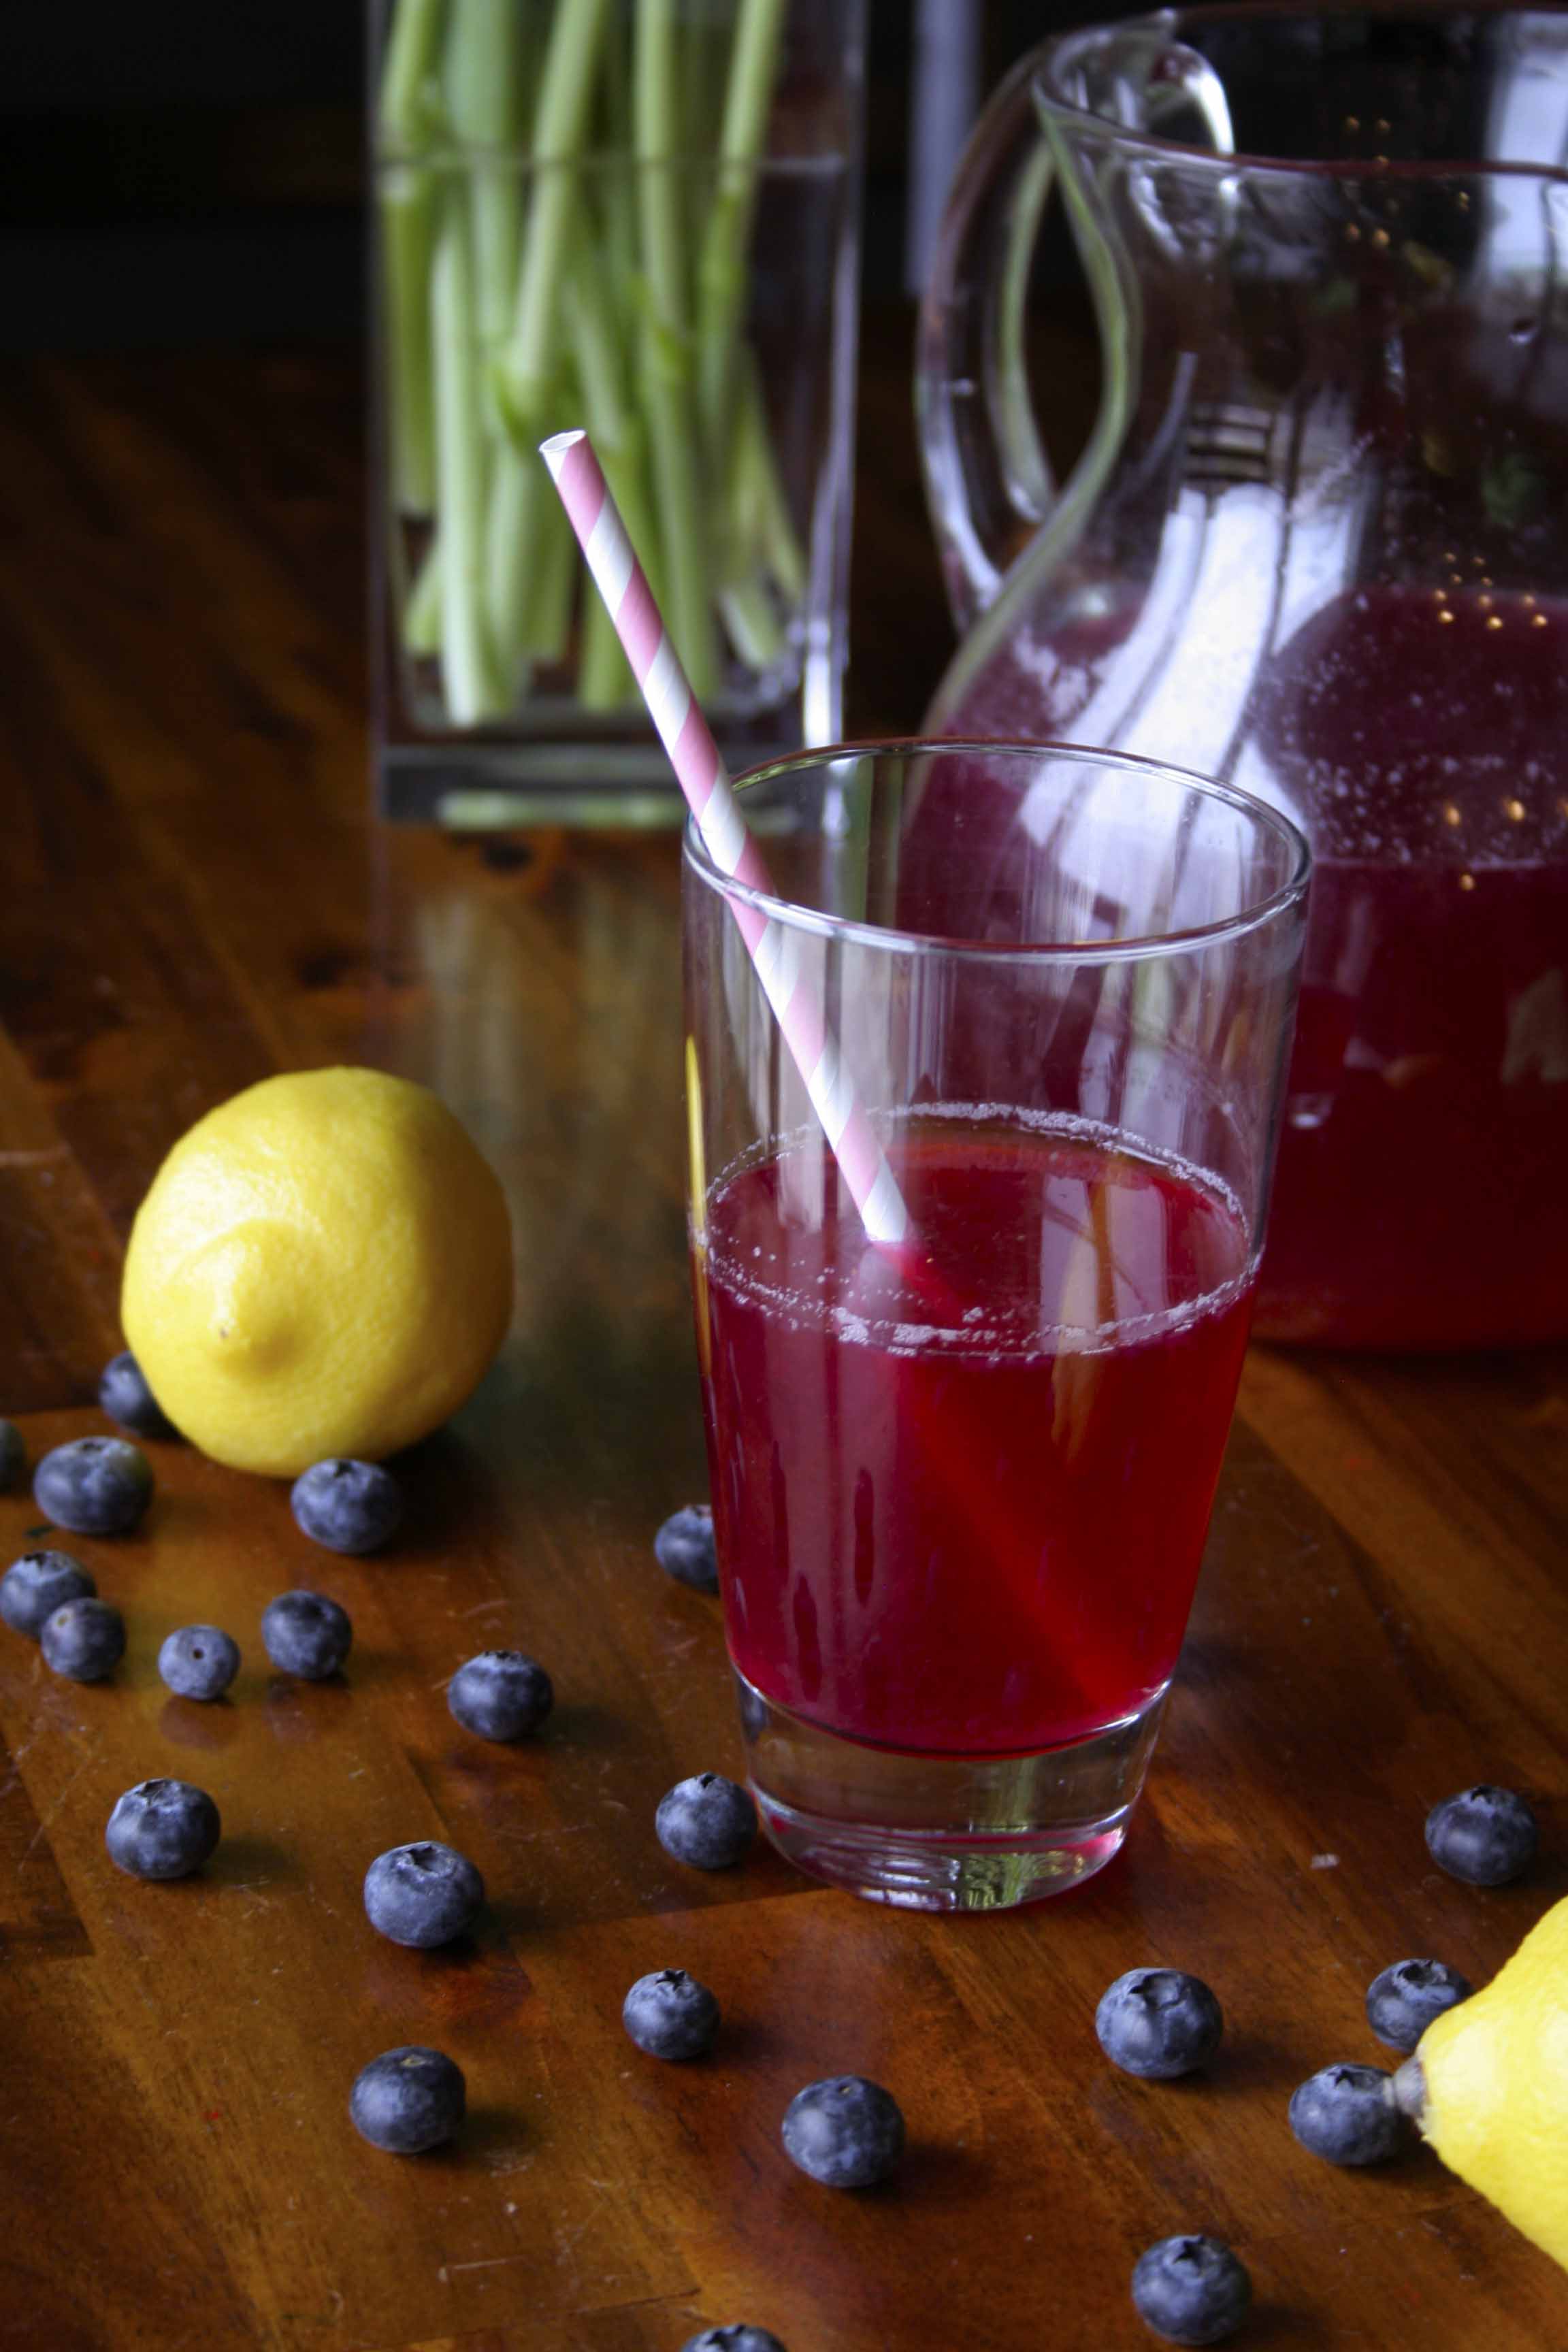
I actually made two versions of the lemonade…I made it as the recipe describes (except I added an additional tablespoon of dried lavender…hee hee hee), and I made a version with lemonade concentrate in place of the sugar and the fresh lemon juice. The true to the recipe version was by far the bigger hit, and I ran out quicker than I had anticipated…sorry everyone! I suppose that goes to show how truly scrumptious it is!

You’ll have to excuse the glare on the glass surfaces in the pictures…I’m still working out this whole picture taking thing! But I did have a pretty curt sneak attacker as I was trying to snap a few pictures!

Mads drinking


Blueberry Lavender Lemonade

  • Servings: 7
  • Difficulty: easy
  • Print

(recipe taken from Oh Happy Day)

1 cup sugar
1 cup water
2 tablespoon dried lavender, plus additional for garnish**
1 cup blueberries, plus additional for garnish (about 1 cup)
1 cup lemon juice (I used fresh lemon juice)
6 cups water and ice
lemon slices for garnish

Combine sugar, 1 cup water, lavender, and blueberries in a small saucepan. Bring to a boil, stirring to make sure sugar has dissolved. Boil for a minute or two, until syrup is a deep purple. Remove from heat and allow to steep and cool, about 30 minutes. Strain out and discard lavender and blueberries. Combine blueberry syrup with lemon juice, water, and ice. Garnish with additional lavender, additional blueberries, and lemon slices.

**The original recipe calls for 1 tablespoon of dried lavender, but I’m a sucker for lavender, so I increased it to two!

So, with spring in bloom and parties on the horizon, what are your favorite party drinks?

He is Risen!!!

Lemony treats

Happy Easter! It is a great morning here at our house! The kids woke up early, super excited to run downstairs to find their Easter baskets. The Easter Bunny did a great job hiding baskets throughout the house—the kids ran through the rooms opening doors and cabinets, turning over pillows, and tossing aside blankets. But, this year, EB was a sneaky, sneaky bunny—eventually mom and dad had to step in to help. 🙂

After the excitement of baskets, we all settled in to watch the story of Jesus rising from the grave—the questions, comments, and excitement of the kids are all so refreshing! They are so honest in their observations and making connections to their lives today. Makes for one proud mama (and papa!)!

Easter is also a time for our whole family to get together in celebration…so guess what else that means?!?! Baking time! To help foster in the warm springness of the season, it turned out to be a lemon filled weekend! I made all sorts of scrumptious treats that I’ll be sharing over the next few posts—lucky friends and neighbors who got to be taste testers will know what I’m talking about! 😉

To start our deliciousness off right, we begin with some lemon blueberry muffin cakes…holy moly! I highly recommend using fresh blueberries and fresh lemons—OMG! The combo go together so well making for a sweet, and just tart enough, morning meal. While making the muffins yesterday, I literally had to swat away little hands and fingers, making promises for the morning. While taking pictures, one of our dear little friends stood by vigilantly, making comments the whole time…”Those sure look yummy Ms. Erika”, “Can I have one NOW Ms Erika?”, “Look over there Ms Erika” (trying to trick me while she snuck one away!). Too cute…and her patience was finally rewarded! 😉

Lemony treats    Lemony treats 4

Lemony treats 3   Lemony treats 2

Lemon Blueberry Muffin Cakes

1 stick Earth Balance butter
2 cups all-purpose flour
1 ¼ cups sugar
1 TBSP grated lemon zest
¼ cup plus 2 TBSP fresh lemon juice
¾ cup almond milk
1 tsp vanilla extract
1 ¼ tsp baking powder
1/3 tsp baking soda
½ tsp cinnamon
¼ tsp salt
½ cup applesauce
6 ounce container blueberries

Directions:

  1. Preheat oven to 350. Line 12 baking cups with cupcake liners**.
  2. Combine ¼ cup sugar and ¼ cup lemon juice in a small saucepan over medium heat. Simmer, stirring occasionally, until the sugar dissolves and the syrup is slightly thickened. Let stand while you are making the muffins.
  3. Combine the almond milk, remaining 2 TBSP lemon juice, and vanilla in a bowl.
  4. Whisk together flour, baking powder, baking soda, salt, and cinnamon in another bowl.
  5. Beat butter, lemon zest, and remaining cup of sugar in a mixer on medium speed until pale and fluffy. Reduce speed to low and add the applesauce, beating well after adding.
  6. Beat in the flour mixture in three additions, alternating with the milk mixture, beginning and ending with the flour.
  7. Gently fold in the blueberries using a rubber spatula.
  8. Divide the batter among the muffin cups. Bake 25-30 minutes.
  9. Transfer pan to a wire rack and brush the tops of cakes with the lemon syrup. Let stand for 10 minutes and remove from the muffin pan and allow to cool completely on wire rack

**I had slightly more batter than the 12 muffin tins, so I used the remaining batter to fill a mini-loaf pan.

These yummy breakfast (or anytime) treats pack some big flavors! What’s one of your favorite lemon combos??

Pumpkin in April

Bars

Pumpkin in April? I know, I know…pumpkin is best saved for fall, right? Getting off of work today and driving home, I drove right into a peaceful, beautiful snowfall. Umm, hello? Snow in April? Welcome to Colorado! Just last weekend I was planning my vegetable garden and prepping the back garden beds for wildflower seeds (I’m envisioning a cascade of colors!), and today we have a thick, wet snowfall! So, today, all I could think about was getting home, putting on snuggly clothes, grabbing a cup of tea, and snacking on something warm and sweet. So, right after dinner, I donned my yoga pants and giant pink Crocs, cranked up Mariah (Carey that is), and I got to work!

The kids rotated through taking showers, doing homework packets, and doing their nightly reading time (some nights it just goes so smoothly…others…well…), and I putzed—yes I said putzed—around the kitchen. I pulled out all of my pumpkin friendly spices and finally settled on a few of my faves—helloooo cinnamon and maple! Armed with pumpkin and spices, I settled on oatmeal squares which will be perfect for the kids to take for snack after I’ve had my turn 🙂 Seeing that these little treats aren’t just for my indulgence, I let my mommy-guilt kick in a notch and threw in some wheat germ and flax seeds—and then some mini chocolate chips. If they’re mini, then they’re not too bad for you, right? I actually had every intention of adding walnuts to the mix, but in my excitement over the mini chocolate chips, I completely forgot! So, in case you’re interested in adding them, I put them in the ingredient list below 🙂

I’m super excited to sit and watch my “programs” tonight while I snuggle on the couch with the hubs, my cup of hot tea, and my oat square…or two…or three! The kids are going to love their snacks at school!!

Pumpkin Spice Oat Squares

2 cups oats
3 TBSP wheat germ
2 tsp cinnamon
¼ tsp ground ginger
Pinch allspice
Pinch cloves
½ tsp salt
1 cup pumpkin
2 tsp vanilla
¼ cup applesauce
3 TBSP maple syrup
½ cup brown sugar
¼ cup mini chocolate chips or chopped walnuts (or both)

Directions:
1. Preheat oven to 350. Line an 8-inch square pan with parchment paper that overhangs an edge (in order to lift the bars out of the pan)
2. In a large bowl, combine the dry ingredients—the oats, wheat germ, cinnamon, ginger, cardamom, allspice, cloves, and salt.
3. In a medium bowl, combine the wet ingredients—the pumpkin, vanilla, applesauce, maple syrup, and brown sugar.
4. Mix the wet ingredients into the dry ingredients and stir to combine.
5. Mix in the mini chocolate chips and/or walnuts.
6. Press the mixture into the pan. Bake for 35-40 minutes.

So, what do you think? Can pumpkin be a spring treat too? 

Two Thumbs Up Heart Healthy Chocolate Chip Cookies

cookies and milk

Running. I enjoy running. I enjoy building up stamina, beating goals, and the feeling of accomplishment when you’re done. Don’t let me fool you though—I am by no means a good runner! In fact it’s been almost two years since I’ve really gone for a true run (and the size of my pants is a testament to that). This weekend, I got it in my head that I would pick up running again, and to make it even better, I decided it would be a family affair.

So, Saturday morning, I donned my running gear, laced up my shoes, put the leash on the dog, and…told the kids to grab their bikes or scooters. This would be fun right? I would get to run, the dog would get out for exercise, and the kids would get to ride. Well, if you know where we live, you’d know that no matter what direction you go from our house, you’re basically going uphill. So—peptalk time!

“Guys you know we’ve gotta go uphill for a bit, but we’re tough, right?!?!”

“RIGHT!!!!”

“Great! So, there’s no fussing on the way up cause remember then we get the sweet, sweet downhill!”

“YEAH!!! We loooove the downhill! Can we go fast?”

“You bet!”

So, out we go…around the corner…and uphill. Ten minutes in, I was carrying a scooter while Jax was trailing behind, “MOOOOMMMM!!! WAIT FOR ME!!!!” Two minutes later Jax was balanced on his scooter as I tried pulling it while running. One minute later, huffing and puffing, I caved. “Guys, can we do this? Can we keep going? Or should we turn around and go downhill?”

“Let’s go DOWNHILL!!!”

So much for my first run in two years…it can only go uphill from here, right (hee, hee, hee)!

Even though my first run-run was a flop, my first run on these cookies wasn’t! J Luckily I had all (well, almost all) of the ingredients on hand—I love it when that happens! I didn’t have actual oat flour, but if you grind your oats in a food processor for several minutes, you can easily—and for a fraction of the cost—make your own oat flour. I also love that you can talk yourself into saying that these cookies are “healthy”, they are scrumptious, and Connor gave me two thumbs up…lots of two thumbs up!!

Because my batter was still a bit warm when I mixed in the chocolate, some of it melted into the batter making a chocolate chocolate chip cookie—mmm..mmm! If you want a less chocolately batter, let your mix completely cool, but good luck waiting that long! The cookies bake up nicely, but be sure to let them cool on your pan before transferring or else they’ll flop apart…not that I would know or anything… 😉 Once the cookies are cooled, they are chewy and break apart easily. The kids loved that!

upclose cookies

Heart Healthy Chocolate Chip Cookies

2 cups walnuts
3 TBSP canola oil
1 cup brown sugar
2 tsp vanilla
1 ½ cup oat flour
1 tsp baking soda
1 tsp salt
¼ tsp cinnamon
2 cups rolled oats
10 oz. bittersweet chocolate, chopped

Directions:

  1. Preheat your oven to 350.
  2. In a food processor, blend the walnuts until they are ground into a fine meal. Add the oil, and blend for 2-3 minutes, until the consistency of natural peanut butter. Transfer to a bowl.
  3. Whisk together the brown sugar and ½ cup of water in a pan and bring to a boil.
  4. Pour the brown sugar mixture over the walnut butter. Add the vanilla, and stir until there are no lumps.
  5. Whisk together the oat flour, baking soda, salt, and cinnamon.
  6. Stir the oat flour mix into the walnut mix. Cool the dough for at least 10 minutes.
  7. Fold the oats and then the chocolate chips into the dough.
  8. Shape the dough into 2-inch balls and placed onto parchment lined baking sheets. Flatten the cookies with the bottom of a glass sprayed with cooking spray.
  9. Bake for 10-12 minutes or until the cookies begin to brown.
  10. Cool for several minutes and transfer to wire racks.


Enjoy the cookies, and in the meantime, I hope that with more practice, the uphills won’t be so daunting…for the kids…or for me!  So, what pointers do you have for getting back into the swing of things?

Cinnamon Mango Eggrolls

Mango cut

Mmm—mmm—mango! I have been on a major mango kick lately.  I think that I’ve had a mango (or two) as my “dinner” for the at least three or four nights this week. I’ve looked up videos on the proper ways to cut mangos. I’ve dreamed of mango recipes. You could say I’ve got Mango Madness!

All week I kept thinking of what I could do with my beloved mangoes that was just a little different but that would be oh-so-scrumptious. And boy—did I hit the nail on the head with this one. Yesterday was the Home Depot workshop day, and as usual, Aaron took the kids…leaving me to my own devices in the kitchen! I was armed with some sugar, some spices, and some mangoes.

Lucky for me, the Home Depot project took a little longer than usual (sorry honey—but hey, we’ve got five new bird feeders!), so I had extra time to play with some sugar and spices. Since I haven’t actually cooked with mangoes before, I wasn’t sure what sort of spices—other than cinnamon—would pair well with this juicy fruit. Well, two hours into my playing, Aaron called to say they were finally headed home for a late lunch. Now, lucky for them, they would have a sweet, warm, gooey dessert waiting for them.

The kids have been begging me for mangoes all week, but admittedly, I’ve been selfish, fending them off with apples and bananas. So, when they walked in, they were super excited to see a new dessert that involved mangoes…”What are thoooose???” “OMG! Mangoes!” (I kid you not—my kids say OMG) Once again, they crowded around as I was taking pictures, attempting to put fingers, faces, and stuffed animals in the pictures (can you spot the red dino photo-bomber?)

Mango full  Mango photo bomb

Don’t let the idea of this dessert being an eggroll intimidate you…they’re actually pretty easy to make!

After you dice the mangos and toss them in sugar, you set them aside. This is when the fun really begins…and it goes quickly. When you turn the heat up on the sugar, watch it as it begins to cook quickly. Once it starts to brown and turn caramel in color, throw in the diced mangos. I found I ended up with chunks of hard sugar (my assumption is that this is from the mango juice combining with the super-hot sugar)—just pick those out. You wouldn’t want to crunch down on one of those! You’re left with a warm, gooey, sweet mango filling that is good enough to eat with a spoon…not that I would know…

I took pictures of the eggroll filling process to hopefully make things easier…especially if you’re a visual person like me! Begin with putting your filling in the middle of your eggroll wrapper, and fold the top corner over. Next, fold the left and right side corners in. With a brush, moisten the bottom corner, and fold it up and over, sticking it to the body of your eggroll. I suggest filling all of your eggrolls prior to frying them up. The frying process goes quickly as well…watch them as it’s easy to burn them…again…not that I would know.

Mango fill  Mango fill 2

Mango fill 3  Mango fill 4

Mango cut


Cinnamon Mango Eggrolls

2 Mangos, diced
2/3 cup sugar
1 ½ TBSP brandy
2 TBSP Earth Balance butter
1 tsp vanilla
1 tsp cinnamon
¼ tsp cardamom powder
½ tsp allspice
Pinch of ground cloves
6-7 eggroll wrappers**
Vege oil for frying
4 TBSP powdered sugar

Directions:

  1. Toss the diced mangoes with 1 TBSP of the sugar and set aside.
  2. Sauté the remaining sugar over high heat and cook, without stirring, until the sugar starts to caramelize and turns golden brown, just a few minutes. Add the mangoes and toss to coat.
  3. Remove the pan from the heat, add the brandy, and place back on the heat. Pick out any hard lumps of sugar.
  4. Bring the brandy/sauce to a boil. Add the butter, vanilla, cinnamon, cardamom, and cloves, cooking over high heat for 3 minutes.
  5. Transfer to a medium bowl and let cool.
  6. To fill you wrapper, place the wrapper with a corner facing you. Place 2-3 TBSP of filling in the middle of the wrapper.
  7. Fold the top corner over the filling. Fold the sides in. Brush the corner facing you with water, and roll the corner over the middle of the filling, making a cylinder.
  8. Heat the vege oil to approximately 350 degrees (you’ll see little heat lines running through the oil). Fry each egg roll 1-2 minutes, turning with tongs to prevent burning. Drain and allow to cool on a paper towel.
  9. Dust with powdered sugar.

**They do make egg-free eggroll wrappers, but I admit…I was too lazy to get some.  I used the real version.  I encourage you to not be lazy though!

So, how do you like your mangoes????


Scrumptious Cinnamon Carrot Muffins

Carrot muffins 2

I must be on a cinnamon kick…wait…who am I kidding?!?! When am I not on a cinnamon kick? I could really put cinnamon in just about anything…muffins…cookies…cakes…scones…pies…tarts…you name it—let’s put cinnamon in it! I’m also a big fan of using up ingredients in the house. For some reason, we’ve had an abundance of carrots in the house. Weird, right? The kids must have been going through a carrot phase or something, and now they’ve moved on to another vegetable. (One of the benefits of having a vege mom! 😉 )

So…what does one do with an abundance of carrots? Why, bake of course! We—and by “we” I mean Aaron—pack the kids lunch for school every day. They get tired of sandwiches, so I do my part by trying to help with some variety. One of my contributions that I like to make is different kinds of muffins. Muffins are great because the kids love them, they can act as both a breakfast item and a lunch item, and you can make a bunch at once, covering a few meals. They can be frozen and thawed quickly, and they can pack quite a punch!

These muffins are a great combo of moist, sweet, healthy, and…scrumptiousness! The kids loved them! They were actually gone before I could even think of freezing them, and I’m pretty sure we only made it through one lunch serving.

I love that these muffins have whole wheat flour, wheat germ, and of course carrots…on some level they must be healthy…right? When grating the carrots, make sure to use the small side of the grater—the finer the carrots, the better!

Cinnamon Carrot Muffins

*Adapted from Martha Stewart Living

  • 3/4 cup all-purpose flour
  • 1/2 cup whole-wheat flour
  • 2 tablespoons wheat germ
  • 1 1/2 teaspoon ground cinnamon
  • 1 ½ teaspoon baking powder
  • 1/2 teaspoon baking soda
  • 1/8 teaspoon kosher salt
  • 1/3 cup vegetable oil
  • 1/3 cup almond milk
  • ½ TBSP vinegar
  • 1/2 cup applesauce
  • 3/4 cup light brown sugar
  • 2 cups finely grated carrots (4-5 carrots)

Directions:

1.  Preheat oven to 350 degrees. Line a muffin tin with paper cups.
2.  Whisk flours, wheat germ, cinnamon, baking powder, baking soda, and salt in a bowl. Combine the almond milk and the vinegar and put aside. Whisk remaining ingredients in a separate bowl; add in the almond milk mixture. Fold dry ingredients into wet and mix until just combined.
3.  Spoon batter into cups, filling 2/3 of the way full.
4.  Bake until a toothpick inserted in the center of a muffin comes out clean, about 22 minutes. Cool in pan for 15 minutes, then transfer to a wire rack to cool slightly before serving.

So, go ahead and bake up some of these deliciously scrumptious…umm…healthy (?) muffins!  And go ahead…add an extra pinch of cinnamon.  I wouldn’t blame you 😉

What do you like to use cinnamon in?