Two Thumbs Up Heart Healthy Chocolate Chip Cookies

cookies and milk

Running. I enjoy running. I enjoy building up stamina, beating goals, and the feeling of accomplishment when you’re done. Don’t let me fool you though—I am by no means a good runner! In fact it’s been almost two years since I’ve really gone for a true run (and the size of my pants is a testament to that). This weekend, I got it in my head that I would pick up running again, and to make it even better, I decided it would be a family affair.

So, Saturday morning, I donned my running gear, laced up my shoes, put the leash on the dog, and…told the kids to grab their bikes or scooters. This would be fun right? I would get to run, the dog would get out for exercise, and the kids would get to ride. Well, if you know where we live, you’d know that no matter what direction you go from our house, you’re basically going uphill. So—peptalk time!

“Guys you know we’ve gotta go uphill for a bit, but we’re tough, right?!?!”

“RIGHT!!!!”

“Great! So, there’s no fussing on the way up cause remember then we get the sweet, sweet downhill!”

“YEAH!!! We loooove the downhill! Can we go fast?”

“You bet!”

So, out we go…around the corner…and uphill. Ten minutes in, I was carrying a scooter while Jax was trailing behind, “MOOOOMMMM!!! WAIT FOR ME!!!!” Two minutes later Jax was balanced on his scooter as I tried pulling it while running. One minute later, huffing and puffing, I caved. “Guys, can we do this? Can we keep going? Or should we turn around and go downhill?”

“Let’s go DOWNHILL!!!”

So much for my first run in two years…it can only go uphill from here, right (hee, hee, hee)!

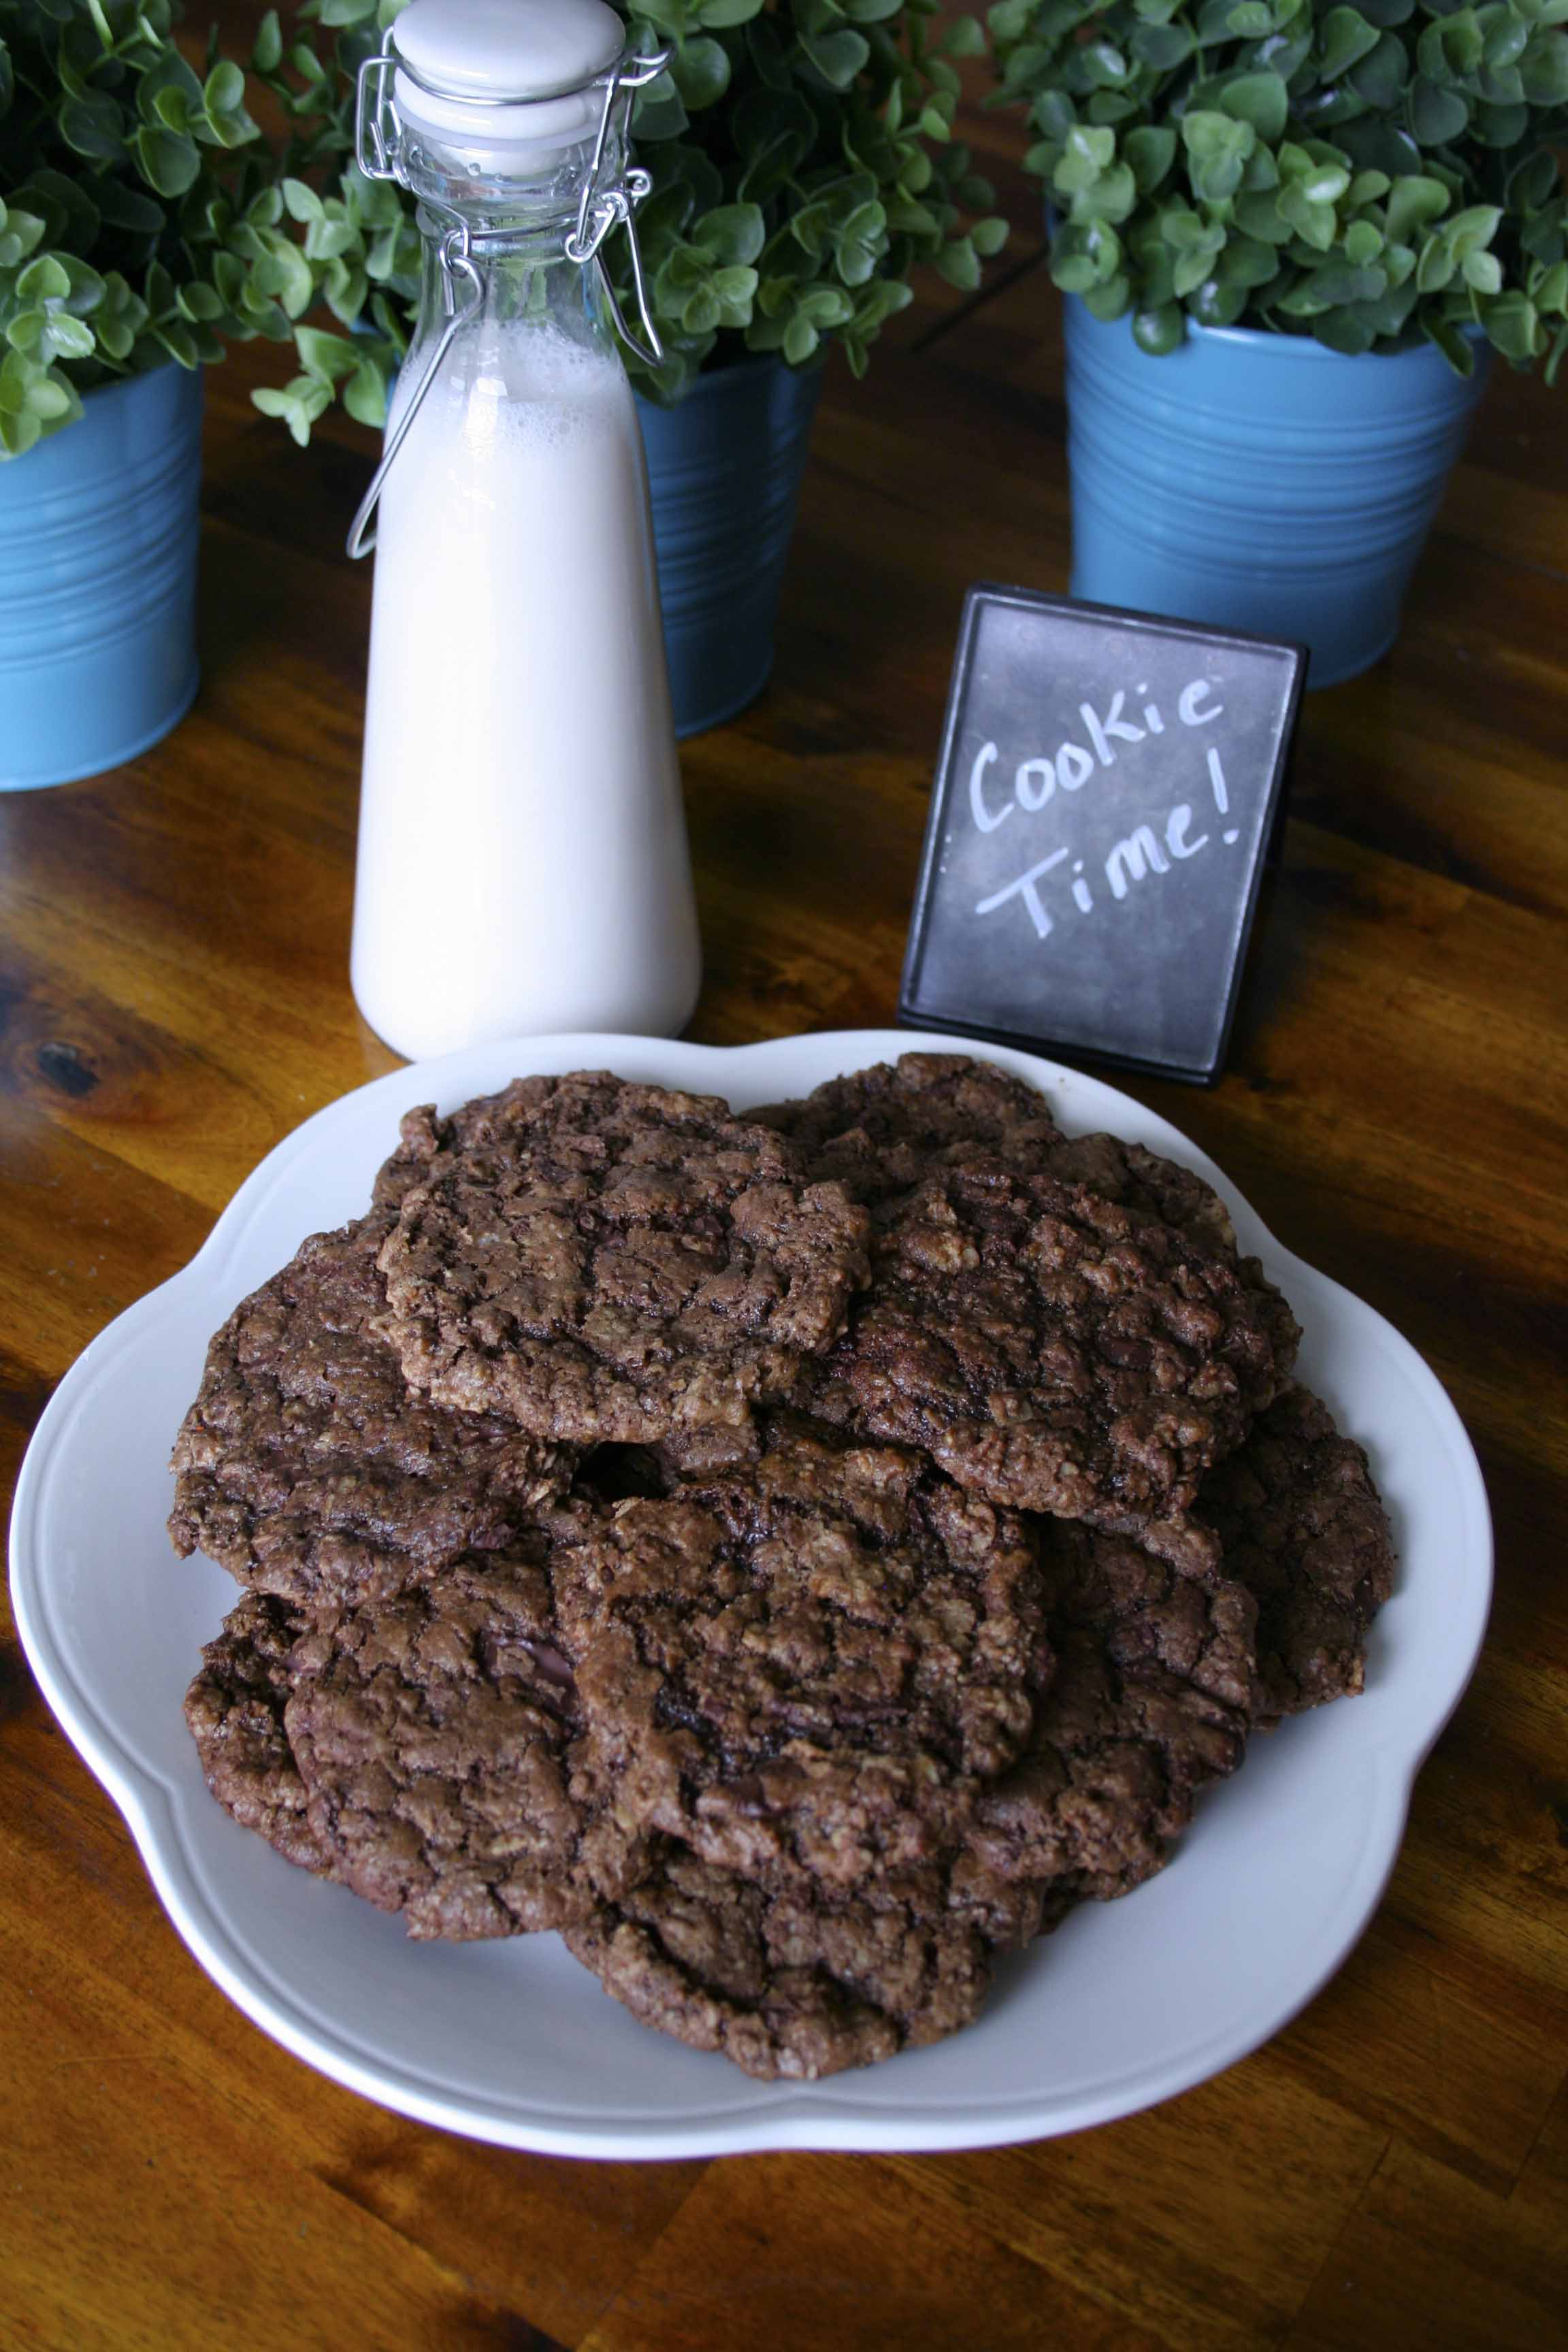
Even though my first run-run was a flop, my first run on these cookies wasn’t! J Luckily I had all (well, almost all) of the ingredients on hand—I love it when that happens! I didn’t have actual oat flour, but if you grind your oats in a food processor for several minutes, you can easily—and for a fraction of the cost—make your own oat flour. I also love that you can talk yourself into saying that these cookies are “healthy”, they are scrumptious, and Connor gave me two thumbs up…lots of two thumbs up!!

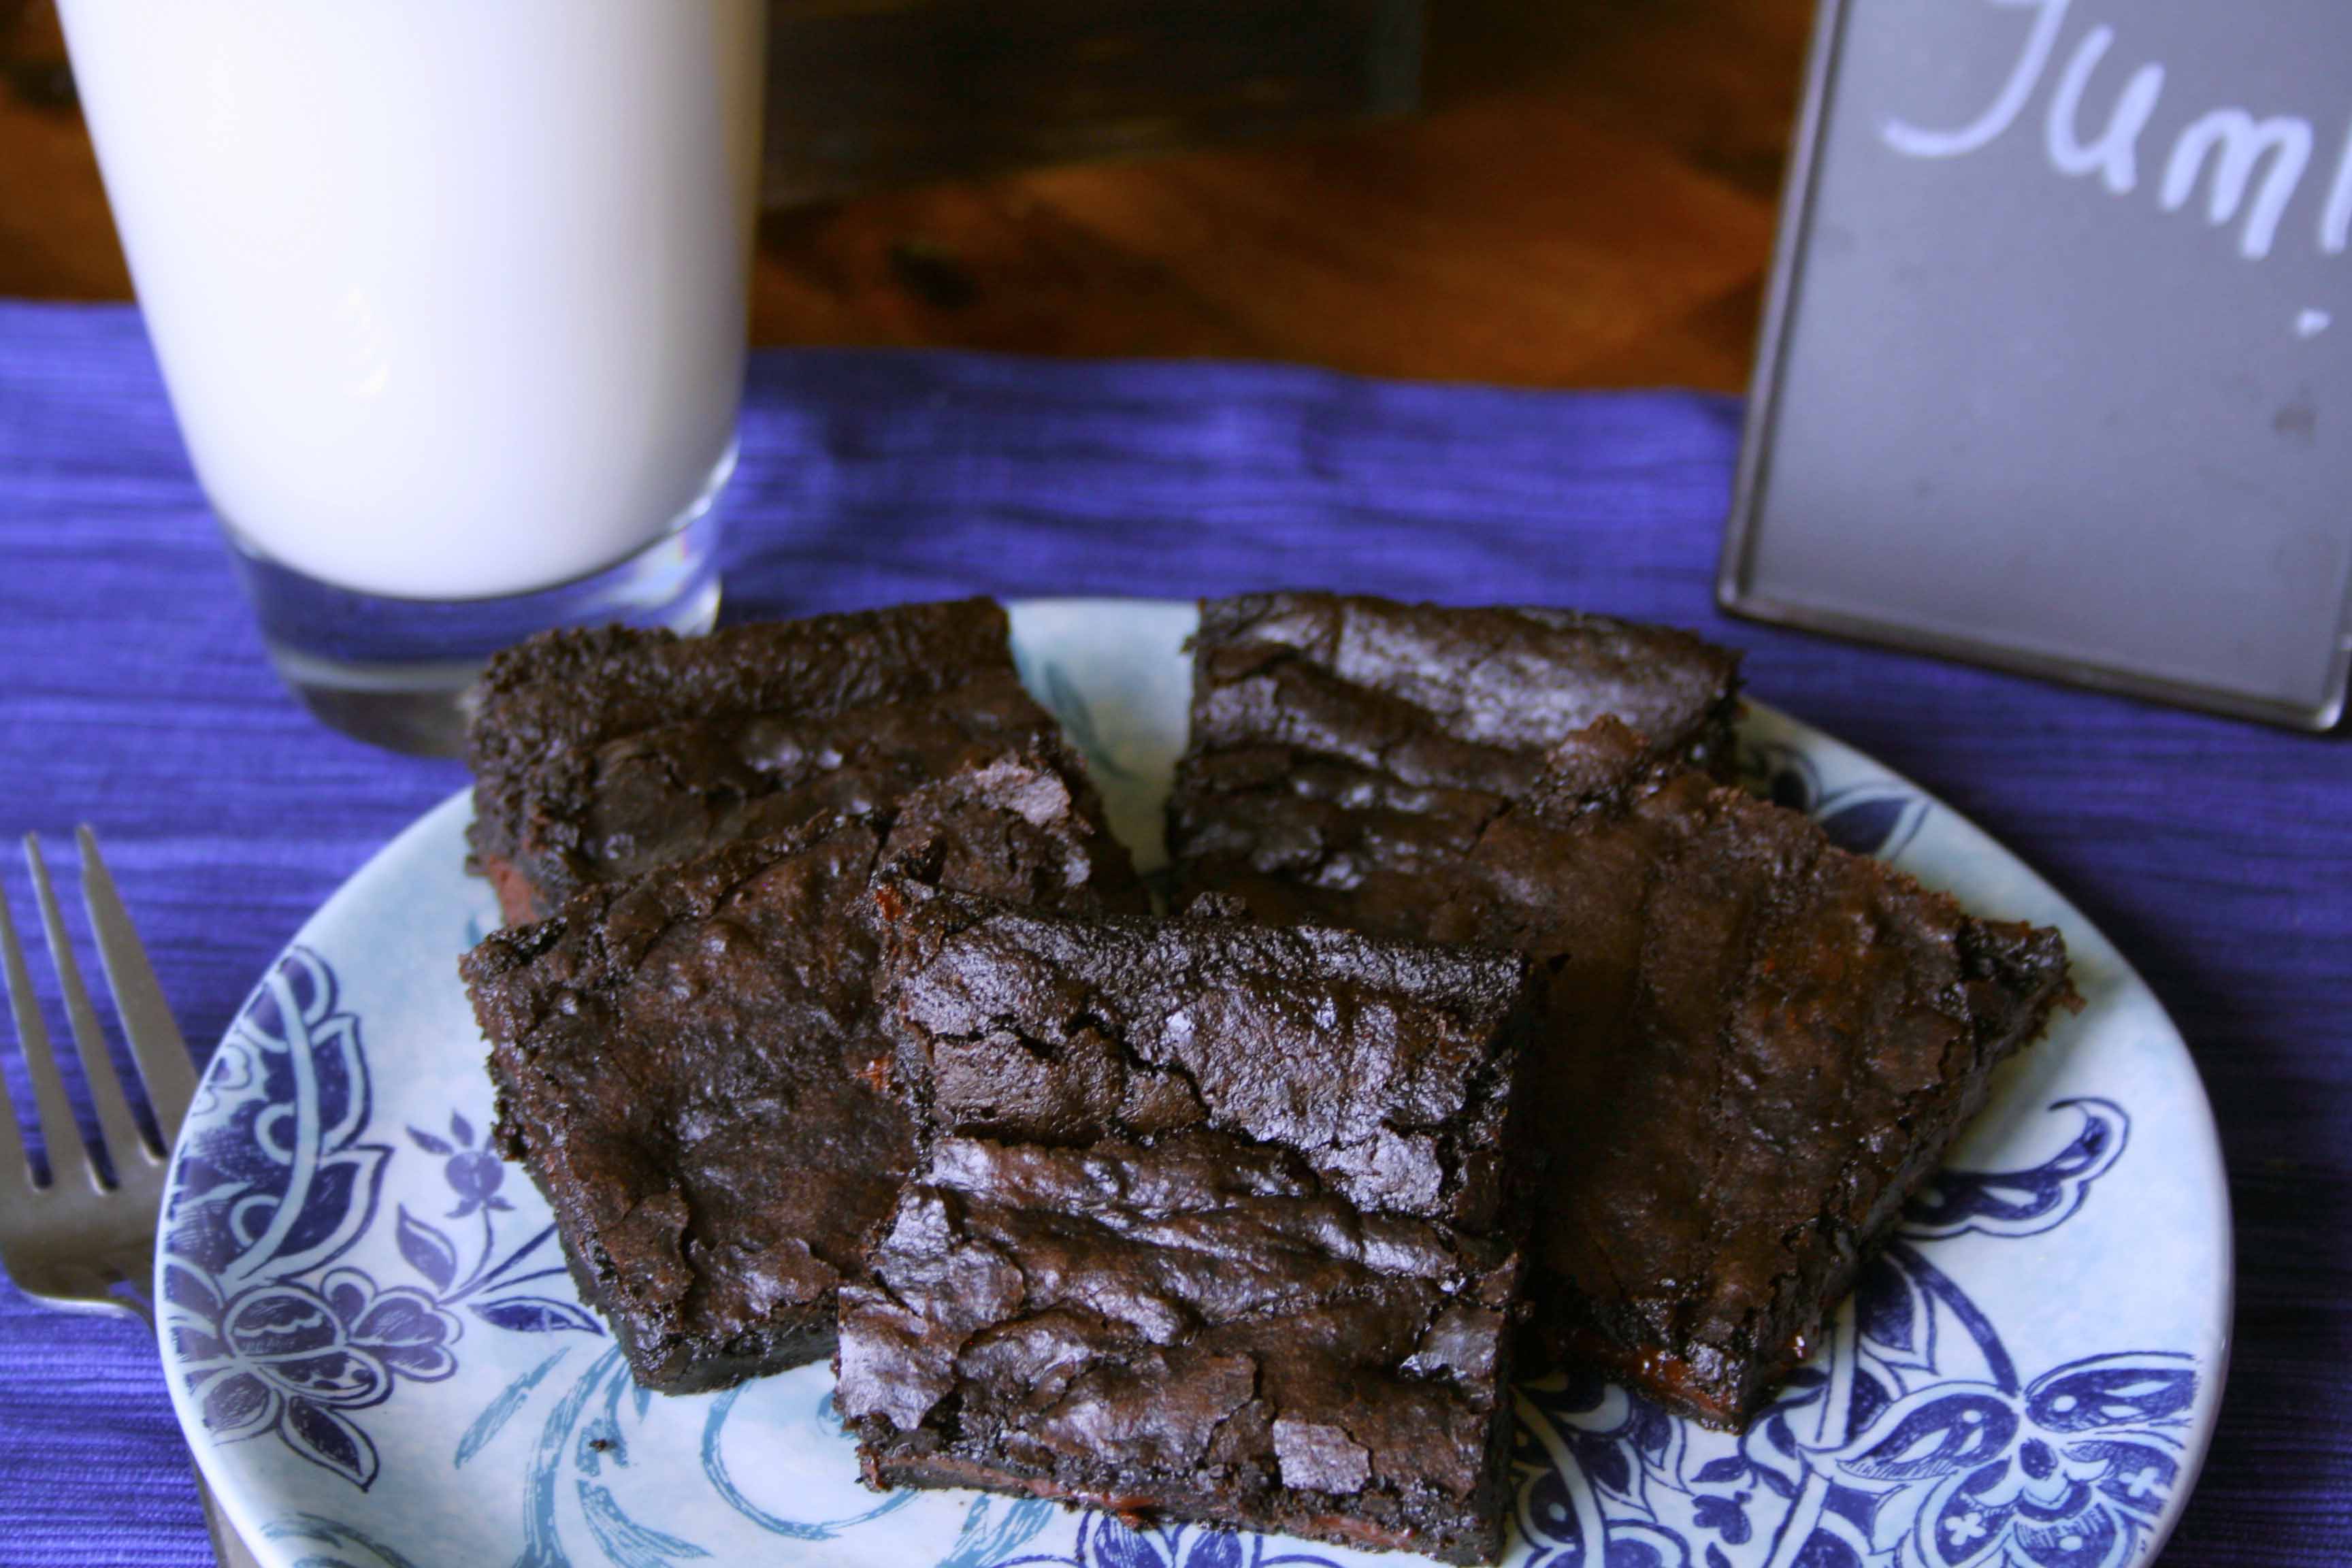
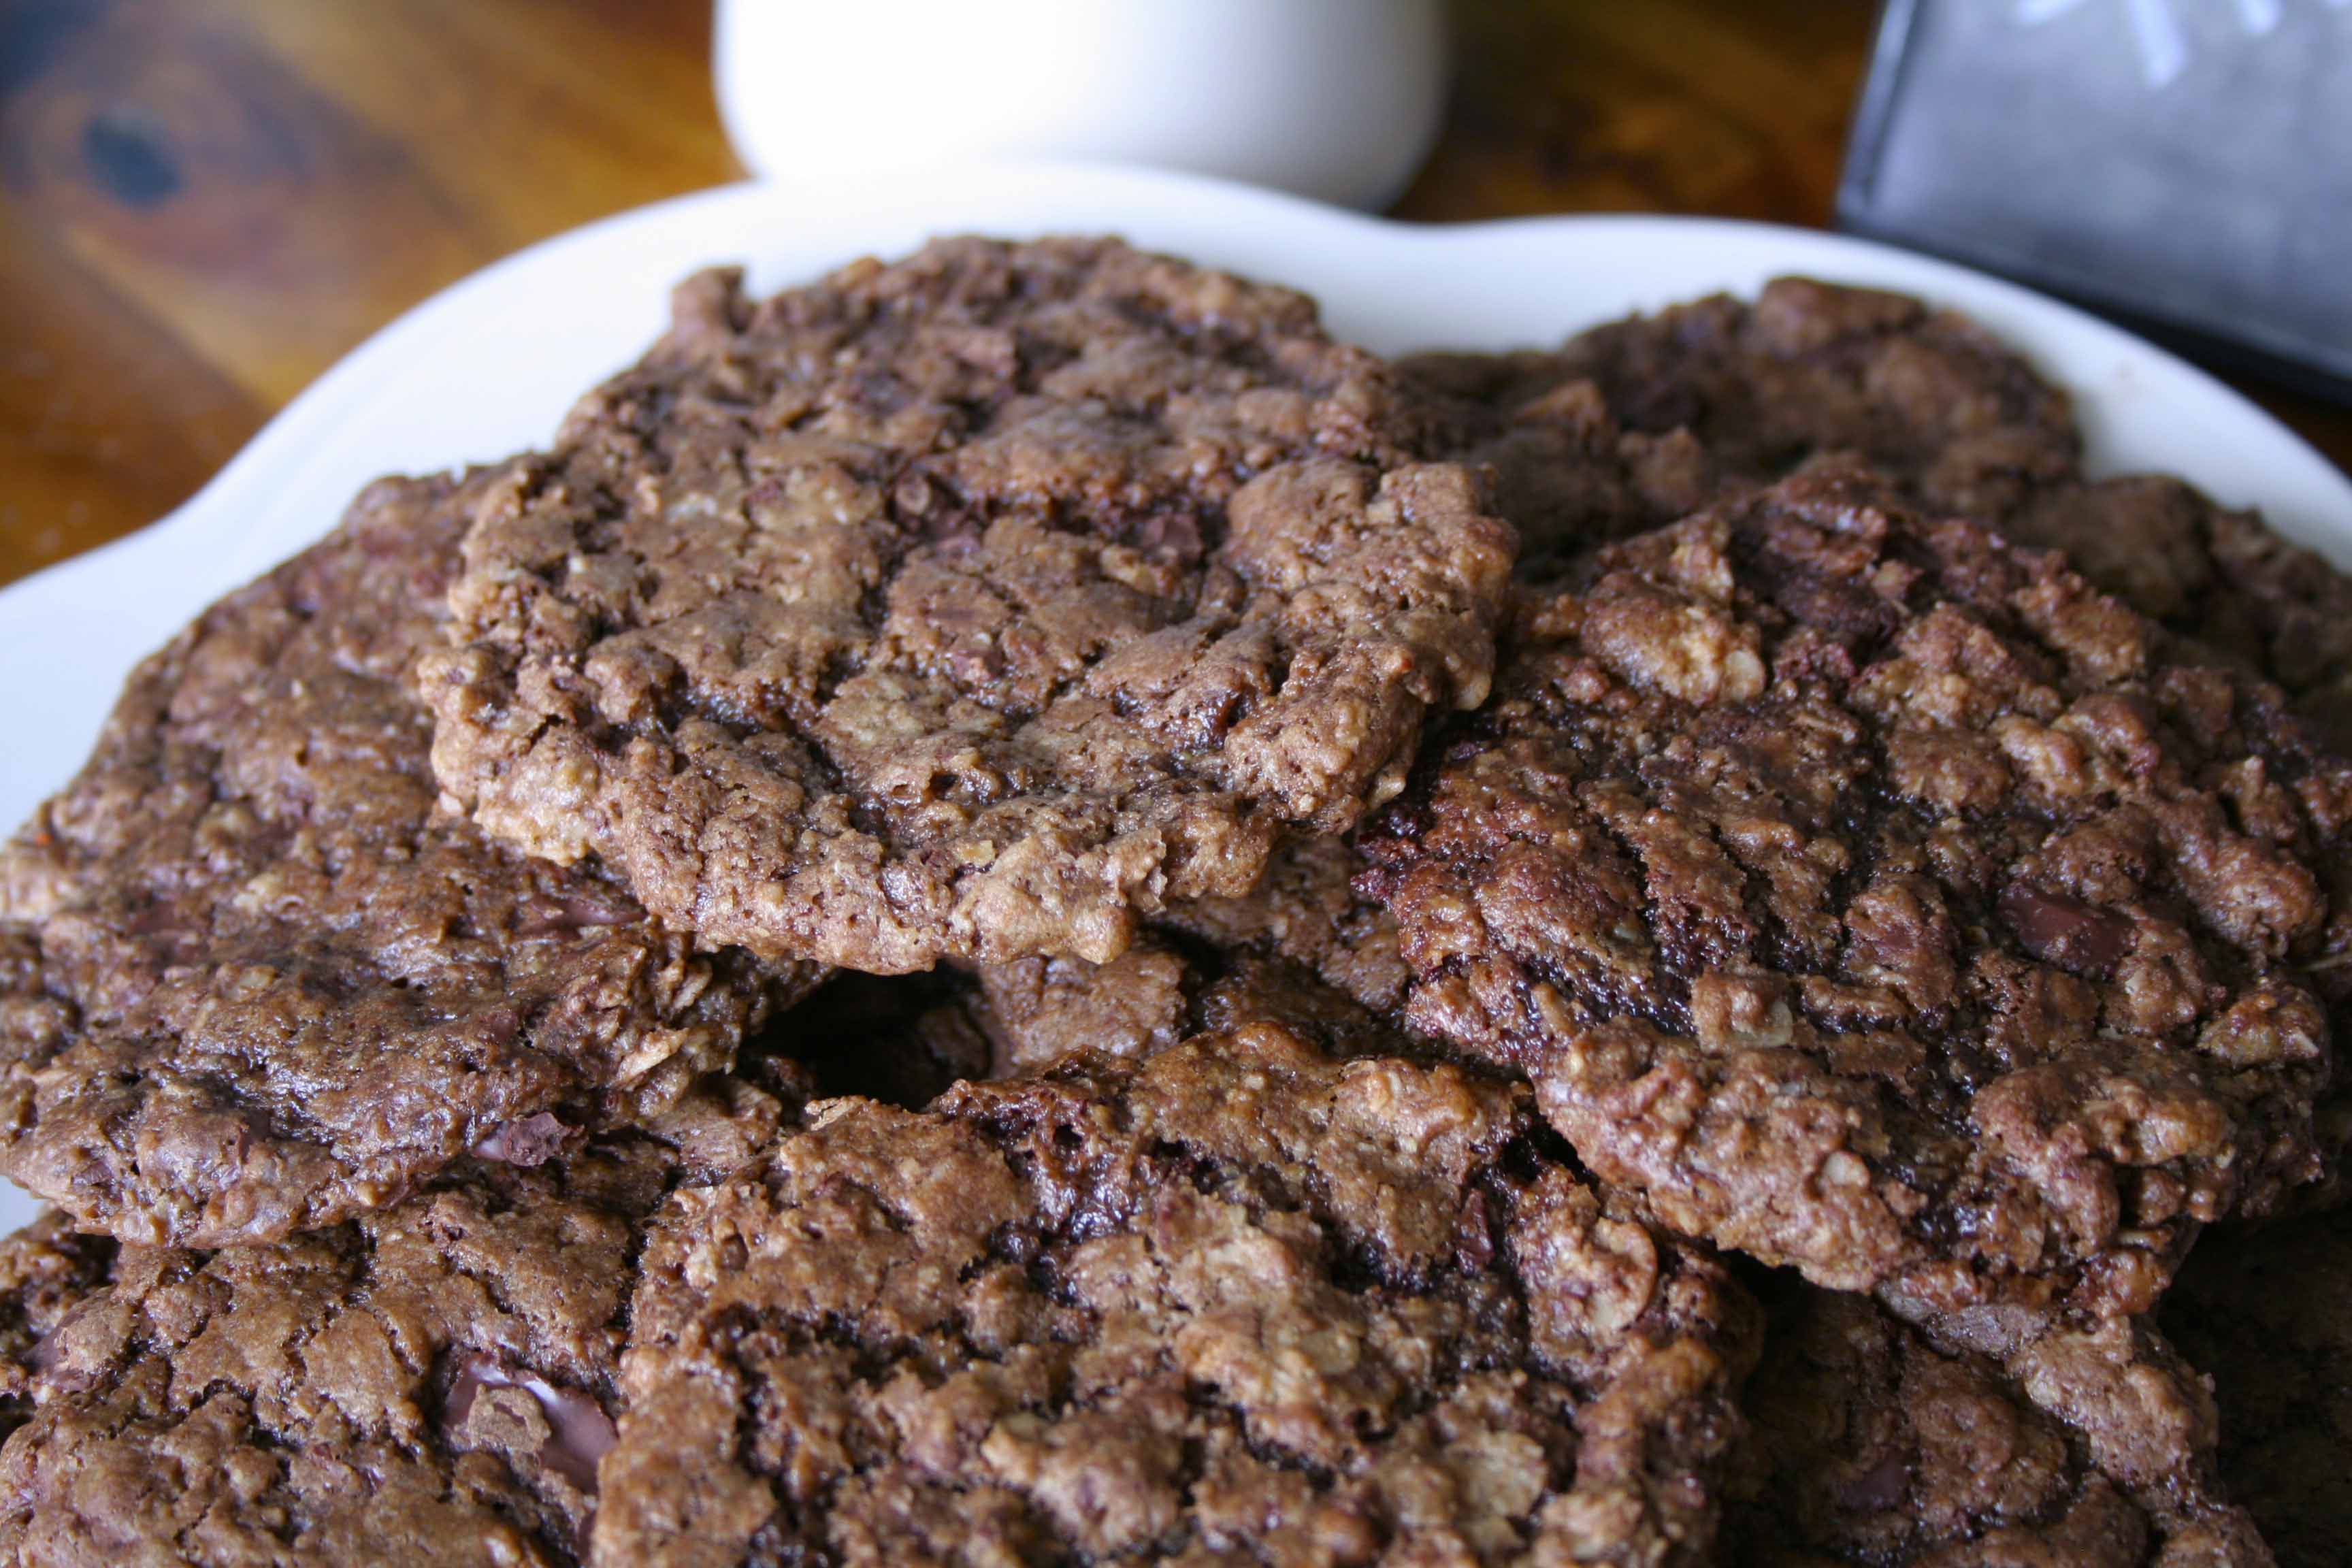
Because my batter was still a bit warm when I mixed in the chocolate, some of it melted into the batter making a chocolate chocolate chip cookie—mmm..mmm! If you want a less chocolately batter, let your mix completely cool, but good luck waiting that long! The cookies bake up nicely, but be sure to let them cool on your pan before transferring or else they’ll flop apart…not that I would know or anything… 😉 Once the cookies are cooled, they are chewy and break apart easily. The kids loved that!

upclose cookies

Heart Healthy Chocolate Chip Cookies

2 cups walnuts
3 TBSP canola oil
1 cup brown sugar
2 tsp vanilla
1 ½ cup oat flour
1 tsp baking soda
1 tsp salt
¼ tsp cinnamon
2 cups rolled oats
10 oz. bittersweet chocolate, chopped

Directions:

  1. Preheat your oven to 350.
  2. In a food processor, blend the walnuts until they are ground into a fine meal. Add the oil, and blend for 2-3 minutes, until the consistency of natural peanut butter. Transfer to a bowl.
  3. Whisk together the brown sugar and ½ cup of water in a pan and bring to a boil.
  4. Pour the brown sugar mixture over the walnut butter. Add the vanilla, and stir until there are no lumps.
  5. Whisk together the oat flour, baking soda, salt, and cinnamon.
  6. Stir the oat flour mix into the walnut mix. Cool the dough for at least 10 minutes.
  7. Fold the oats and then the chocolate chips into the dough.
  8. Shape the dough into 2-inch balls and placed onto parchment lined baking sheets. Flatten the cookies with the bottom of a glass sprayed with cooking spray.
  9. Bake for 10-12 minutes or until the cookies begin to brown.
  10. Cool for several minutes and transfer to wire racks.


Enjoy the cookies, and in the meantime, I hope that with more practice, the uphills won’t be so daunting…for the kids…or for me!  So, what pointers do you have for getting back into the swing of things?

Cinnamon Mango Eggrolls

Mango cut

Mmm—mmm—mango! I have been on a major mango kick lately.  I think that I’ve had a mango (or two) as my “dinner” for the at least three or four nights this week. I’ve looked up videos on the proper ways to cut mangos. I’ve dreamed of mango recipes. You could say I’ve got Mango Madness!

All week I kept thinking of what I could do with my beloved mangoes that was just a little different but that would be oh-so-scrumptious. And boy—did I hit the nail on the head with this one. Yesterday was the Home Depot workshop day, and as usual, Aaron took the kids…leaving me to my own devices in the kitchen! I was armed with some sugar, some spices, and some mangoes.

Lucky for me, the Home Depot project took a little longer than usual (sorry honey—but hey, we’ve got five new bird feeders!), so I had extra time to play with some sugar and spices. Since I haven’t actually cooked with mangoes before, I wasn’t sure what sort of spices—other than cinnamon—would pair well with this juicy fruit. Well, two hours into my playing, Aaron called to say they were finally headed home for a late lunch. Now, lucky for them, they would have a sweet, warm, gooey dessert waiting for them.

The kids have been begging me for mangoes all week, but admittedly, I’ve been selfish, fending them off with apples and bananas. So, when they walked in, they were super excited to see a new dessert that involved mangoes…”What are thoooose???” “OMG! Mangoes!” (I kid you not—my kids say OMG) Once again, they crowded around as I was taking pictures, attempting to put fingers, faces, and stuffed animals in the pictures (can you spot the red dino photo-bomber?)

Mango full  Mango photo bomb

Don’t let the idea of this dessert being an eggroll intimidate you…they’re actually pretty easy to make!

After you dice the mangos and toss them in sugar, you set them aside. This is when the fun really begins…and it goes quickly. When you turn the heat up on the sugar, watch it as it begins to cook quickly. Once it starts to brown and turn caramel in color, throw in the diced mangos. I found I ended up with chunks of hard sugar (my assumption is that this is from the mango juice combining with the super-hot sugar)—just pick those out. You wouldn’t want to crunch down on one of those! You’re left with a warm, gooey, sweet mango filling that is good enough to eat with a spoon…not that I would know…

I took pictures of the eggroll filling process to hopefully make things easier…especially if you’re a visual person like me! Begin with putting your filling in the middle of your eggroll wrapper, and fold the top corner over. Next, fold the left and right side corners in. With a brush, moisten the bottom corner, and fold it up and over, sticking it to the body of your eggroll. I suggest filling all of your eggrolls prior to frying them up. The frying process goes quickly as well…watch them as it’s easy to burn them…again…not that I would know.

Mango fill  Mango fill 2

Mango fill 3  Mango fill 4

Mango cut


Cinnamon Mango Eggrolls

2 Mangos, diced
2/3 cup sugar
1 ½ TBSP brandy
2 TBSP Earth Balance butter
1 tsp vanilla
1 tsp cinnamon
¼ tsp cardamom powder
½ tsp allspice
Pinch of ground cloves
6-7 eggroll wrappers**
Vege oil for frying
4 TBSP powdered sugar

Directions:

  1. Toss the diced mangoes with 1 TBSP of the sugar and set aside.
  2. Sauté the remaining sugar over high heat and cook, without stirring, until the sugar starts to caramelize and turns golden brown, just a few minutes. Add the mangoes and toss to coat.
  3. Remove the pan from the heat, add the brandy, and place back on the heat. Pick out any hard lumps of sugar.
  4. Bring the brandy/sauce to a boil. Add the butter, vanilla, cinnamon, cardamom, and cloves, cooking over high heat for 3 minutes.
  5. Transfer to a medium bowl and let cool.
  6. To fill you wrapper, place the wrapper with a corner facing you. Place 2-3 TBSP of filling in the middle of the wrapper.
  7. Fold the top corner over the filling. Fold the sides in. Brush the corner facing you with water, and roll the corner over the middle of the filling, making a cylinder.
  8. Heat the vege oil to approximately 350 degrees (you’ll see little heat lines running through the oil). Fry each egg roll 1-2 minutes, turning with tongs to prevent burning. Drain and allow to cool on a paper towel.
  9. Dust with powdered sugar.

**They do make egg-free eggroll wrappers, but I admit…I was too lazy to get some.  I used the real version.  I encourage you to not be lazy though!

So, how do you like your mangoes????


Grab a Glass of Milk

Brownies plate

Did you check out that picture?  The rich, dark choclateyness of those truly scrumptious brownies? If you want a guilty pleasure, these are it.

After breakfast this morning, the kids tucked Riley (our dog) in with blankets and stuffed animals, and headed upstairs to play, leaving me and Riley in peace in the kitchen. Poor Riley had a big surgery yesterday, removing a basketball sized mass from her chest (it was benign and her bloodwork was normal—yahoo!!). She’s such a trooper, coming through surgery with flying colors, and patronizing Aaron and me while we put t-shirts and maxi-pads on her. Yep—t-shirts and maxi-pads. The ol’ girl has a little drain coming out of her chest for the next week or so, and while we absolutely want a full recovery, we don’t want her draining all over the house! She’s been amazing today, taking her meds and getting up and walking around, up and down the street with me. As neighbors drive by, I’m sure they’re wondering…why is that poor dog sporting a Hanes v-neck?!?!

Riley

While Riley and I were downstairs enjoying some peace and quiet, I started going through my old recipe box once again. I came across this fabulous brownie recipe that I can remember my mom and I making when I was a kid. I distinctly remember her finding the recipe in the newspaper and cutting it out, tucking it away for later. Well, it’s later baby! I called Zoe downstairs to help me with my little surprise for everyone, and we got to work (what a cute helper…right?!?!)

Zoe helper

The brownies, with my modifications (hee hee hee), are out of this world! If you are used to box-mix brownies, these ones will make you never want to go back! The original recipe called for eggs, regular cocoa and semi-sweet chocolate chips, but I decided to amp it up a bit (plus I didn’t have any regular cocoa powder). We used dark chocolate cocoa powder, dark chocolate chunks (Aaron is amazing—he knew I wouldn’t want anything with a milk base so he read all of the ingredients on all of the packages until he found one with no milk!), and a bit of cinnamon. I love cinnamon and chocolate…in fact, I may add more cinnamon the next time. There’s just a hint of cinnamon at the end of your bite. Plus as a bonus, you mix everything in one bowl, with one spoon…I’m all about having to do less dishes—and so is Aaron…he’s usually on clean-up duty! The recipe is easy to read and is kid friendly—a great one to start baking with a little one.

On a side note, I thought it would be fun to take a picture with a bite out of one of the brownies…mistake!!!! I took one bite, took a few pics, and then said forget it and ate the rest (plus another one…and downed a glass of almond milk!)   😉

The Ultimate Chocolate Brownies

¾ cup dark chocolate cocoa powder
½ tsp baking soda
2/3 cup Earth Balance butter, melted and divided
½ cup boiling water
2 cups sugar
½ cup applesauce
1 ½ cup flour
¾ tsp baking powder
½ tsp cinnamon
1 tsp vanilla
¼ tsp salt
1 cup dark chocolate chips

Directions:

  1. Preheat your oven to 350. Grease a 9 x 11 pan.*
  2. Combine cocoa powder and baking soda in a large bowl. Stir in 1/3 cup of the melted butter. Add the boiling water and stir until thickened.
  3. Stir in the sugar, applesauce, and the rest of the butter. Stir until smooth.
  4. Add the flour, baking powder, cinnamon, vanilla, and salt. Blend in completely.
  5. Stir in the chocolate chips.
  6. Spread your batter into your pan. Bake for 35-45 minutes.  To check the brownies, insert a toothpick, but be aware that you may poke a chocolate chip.  If you aren’t sure if you have batter or chocolate chips on your toothpick, poke in another area.**

*I edited the recipe to take out the smaller pan option.  Friends have tried it with the smaller pan, and the brownies just don’t seem to bake all of the way through.  So definitely use a larger pan!
**I also added an explanation for checking the brownies for doneness–it can be a bit deceiving with those chocolate chips in there!

Chocolate Cake & Sleepless Nights

Baby shower 010

Between my goofy husband and suddenly hyper-sensitive daughter, I’ll be lucky to get a full night’s sleep tonight!

Let me set the stage for you:

Aaron’s a bit of a light snorer at times.  Usually he’ll stop if I shake his arm and tell him to turn on his side.  Two nights ago, he was lightly snoring, so I did my obligatory shake.

Nothing.

Shake again.

Nothing.

Shove the arm!  He sits up in bed and says “What”.  I tell him he’s snoring.  He says (in a drawl I’ve never heard before), “Nooooo……I was just a lying here” and proceeds to lay back down.  All I could do was laugh which made him laugh, and in the morning, he had no idea what had happened!

Move to last night:

3:00 in the morning.  Pitter-patter of feet.  Zoe—”Is mom leaving for work?”

“No, it’s the middle of the night, go back to bed.”

4:30 in the morning.  Pitter-patter of feet.  Zoe—“Is mom leaving for work?”

“No.  Still middle of the night.  Go back to bed.”

5:45 in the morning.  Zoe is crawling around the top bunk, making noise.  Me—“Zoe, what are you doing?”

Zoe—“I gotta make sure I don’t miss you leaving.”  (insert broken heart here 😦 )

After we all get some good sleep, I think that Zoe and I need to have some 1:1 time together this weekend!  She’s always wanting to help in the kitchen, so we’ll have to create something scrumptious together—maybe some cupcakes or cookies?!?!?!

In the meantime, here’s the chocolate cake from my sister’s baby shower.  This one is taken from the Vegan Table cookbook and was a big hit (and as a bonus, it’s super easy 😉 ).  There’s the right amount of chocolate flavor without it being a fake flavor, and there’s a little chocolate boldness at the end of your bite—like the chocolate is saying “Hey man…I’m gooood!”  As an FYI, the original recipe says that you can use whatever non-dairy milk you prefer (soy, almond, hemp, etc), but I highly recommend using almond milk.  My mom made the same recipe with soymilk, and she said it was a disaster—the only difference was the type of milk we used.  When using milk in a recipe, I’ve been using almond milk for years, and it hasn’t failed me yet!

So, go get your bake on, and let that chocolate tell you who’s boss!  (That’s the mom-to-be about to put the smack down on some chocolate cake…and a cute little photo bomber!)

Scrumptious Chocolate Cake (taken from The Vegan Table)

**This recipe makes one round cake—double it for a layered cake

1 ½ cups all-purpose flour
¾ cup sugar
½ tsp salt
1 tsp baking soda
¼ cup unsweetened cocoa powder
¾ cup almond milk
½ cup black coffee (the darker the better)
1/3 cup canola oil
1 TBSP white distilled vinegar
1 tsp vanilla extract

Directions:

  1. Preheat the oven to 350.  Lightly oil an 8- or 9-inch cake pan and line the bottom with parchment paper.
  2. Combine flour, sugar, salt, baking soda, and cocoa powder in a bowl until thoroughly mixed.  It may be necessary to sift the cocoa powder to make sure it is fine.
  3. Combine the milk, coffee, oil, vinegar, and vanilla.
  4. Make a well in the center of the dry ingredients.  Pour the wet mixture into the well and stir until thoroughly mixed.
  5. Pour into the prepared cake pan and bake for 30 minutes, until a toothpick inserted into the center comes out clean.  Cool completely.

Vegan Vanilla Cake

Vanilla

As I told you in my last post, this past weekend we had my little sister’s baby shower, and I got to make three different kinds of cakes.  I’ve given you the recipe for the delicious strawberry cake, and today, I’m giving you the vanilla one!

This cake is so simple to make and really turns out well.  I’ve made it a few times as the non-vegan version, making a strawberry layer cake, with fresh strawberries and whipped cream…mmm…strawberries must be on my mind lately.  I think I made the original version for a jewelry party, and if memory serves, I was much more interested in the cake than I was the jewelry…layers of cake with strawberry jam, fresh cut strawberries, sweet cream…my mouth is watering.  I am definitely going to make that again and figure out an option for the cream.  I saw online a vegan version of whipping cream, or maybe I’ll use coconut whipped cream.  Oh my!  Stop my beating heart.

Ahem…now that I’ve got you all excited for something else…sorry.

Back to the purpose of this post!  Because the cake itself has always turned out so scrumptiously, I thought I’d try a vegan version of it as my vanilla cake with “butter”cream frosting.  I love flavored cakes (can I get a holla for some chocolate!), but sometimes it’s nice to just have a simple vanilla.  I made two round cakes, layered with buttercream and decorated with peace signs and hearts (hippie girl, remember?).  I had the cake looking pretty good, if I do say so myself.  I was in the final stages of frosting the third, chocolate, cake when I heard a little thump and an “Ohhhh noooo….” from behind me (there may have been an expletive in there 😉 ).  I turned around, and bless Aaron’s heart, he was trying to put the cake and cake stand into a box for me to transport it to the baby shower when he dropped the cake into the side of the box!!!  All I can say is thank goodness for frosting and some creative covering!  I don’t think anyone was the wiser! 😉

Vanilla 2

Vanilla Cake

(adapted from Martha Stewart Living)

2 sticks Earth Balance butter, softened to room temperature
3 cups all-purpose flour
2 ¼ tsp baking powder
¼ tsp baking soda
1 tsp salt
1 ¾ cups sugar
4 Ener-G eggs (6 tsp egg replacer mixed with 8 TBSP warm water)
1 1/3 cup almond milk
1 TBSP vinegar
1 TBSP vanilla

Directions:

  1. Preheat the oven to 350.  Spray two 9 inch round cake pans and line with parchment paper on the bottom.
  2. Whisk together the flour, baking powder, baking soda and salt and set aside.
  3. Combine the almond milk and vinegar and set aside.
  4. Beat the Earth Balance butter and the sugar with a mixer until pale and fluffy, scraping down the sides of the bowl as needed, for about 2 minutes.  Reduce the speed and slowly pour in the egg replacer, beating well.  Beat in one-third of the flour mixture, followed by half of the almond milk, one-third of the flour mixture, the other half of the almond milk, and ending with the final third of the flour mixture.  Beat in the vanilla.
  5. Divide the batter between the two pans.  Bake, rotating halfway through, until a toothpick inserted in the center comes out clean, about 40 minutes.  Transfer to wire racks and cool in the pans for 20 minutes.  Invert onto wire racks, remove the parchment paper, and allow to cool completely.

Strawberry Cake and a Baby Shower

Strawberry 2

We’ll be welcoming another little girl into the family in a few months (well…not us!), and today was a great day to celebrate.  My little sister is having a baby, and today was her baby shower!  My mom and I co-hosted the shower, and I had the super fun job of making the cakes.  Yes, I said cakes!  We were expecting about 30 ladies to come, so I took the opportunity to make three kinds of cakes.  Luckily for Aaron and the kids, I had to try the recipes out beforehand, so they were able to sample the goods a few weeks in advance.  At the shower, we had a chocolate cake, a vanilla cake, and a strawberry cake.

Cakes

My sister is our free spirit, and she loves hearts and peace signs.  Little Baby Shea is going to be a cute, decked out hippie girl!  Since I was going to be making a strawberry cake, I decided to make it into a heart.  I mean…pink…heart…they go together, right?  Now, I’m not usually one for strawberry flavored things, but mmm-mmm, this cake was goo-ood!  It is so nice and moist and has a fresh strawberry taste.    Using pureed strawberries had my mouth watering from the get-go.  To avoid having the batter be too wet, I strained the berries over a bowl, turning and pushing them to get some of the juice out.   I think that this freshness makes the cake stand out from other artificially flavored cakes.

When I first popped the cakes out of the pan, I thought that they were going to be too dense and moist, but after being layered with buttercream, everything seemed to just fit together…pure scrumptiousness!  The buttercream isn’t overly sweet and serves as a nice compliment to the fresh sweetness of the cake.  At the end of the shower, this cake was the one that was mostly gone!  I had to hide a slice or two to take home for my boys 🙂 I hope that you enjoy the cake as much as we did!

Vegan Strawberry Cake

3 cups cake flour
4 ½ tsp baking powder
1 ½ tsp salt
2 cups granulated sugar
3/4 cup vegetable oil
2 packages strawberries, pureed and strained *
1 teaspoon pure vanilla extract
Ener-G egg replacer equivalent of 4 large eggs, beaten (6 tsp dry powder mixed with 8 TBSP warm water)
Red or pink food coloring if you want the cake to look pinker

Directions

  1. Preheat oven to 325 degrees. Spray two 8-by-2-inch round cake pans, line with parchment paper.
  2. Stir together flour, baking powder, and salt.
  3. Puree the strawberries in a food processor.  Pour the pureed strawberries into a fine mesh sieve over a bowl, allowing the juice to drain.
  4. Stir the sugar, oil, pureed strawberries, vanilla and beaten egg replacer into the flour mixture.
  5. Add in a few drops of food coloring if you want.
  6. Divide batter evenly among oiled pans. Bake for 30-35 minutes, rotating the pans periodically to ensure they bake evenly. A toothpick should come out clean when inserted into the middle of the cakes, and the top should spring back when gently pressed.
  7. Let the cakes cool for 10 minutes, and then remove pans, allowing the cakes to completely cool.
  8. While the cakes are cooling, prepare the frosting.

Buttercream Frosting

2 cups Earth Balance vegan butter (4 sticks), softened
6 cups powder sugar
1 tsp vanilla
2-3 TBSP almond milk

  1.  In your blender, whip the Earth Balance butter sticks until creamy
  2. Slowly whip in 1 cup of powder sugar
  3. Slowly whip in the vanilla and 1-2 TBSP of almond milk.  The frosting may begin to look clumpy or curdly, but don’t worry!
  4. Slowly whip in the remaining powder sugar.  If the buttercream is too thick, slowly add bits of more almond milk.  If you get the buttercream too runny, slowly add in more powder sugar.

Once your cakes are cooled, spread approximately one cup of frosting on your bottom layer.  Put the second layer on top.  Use the remaining buttercream to frost the top and sides of the cake.

*I had originally said 2 pints of strawberries, but I realized that is not the size of the package.  I meant the regular sized packs of strawberries that you buy in the produce section, and admittedly, I don’t know how big they are!

Cinnamon Maple Heaven

Frosted cupcakes

Three tries…that’s what it took to get these cupcakes working…three tries.

The first Saturday of the month is a great day in our house.  The local Home Depot does a kids building workshop on the first Saturday of the month, and Aaron, being the great husband and dad that he is, always takes the kids to build so that I can have a bit of quiet time to myself in the house.  It’s my one time a month that I’m guaranteed to a home…alone!!!  Really, the workshop only takes about 45 minutes, but Aaron will often take the kids to lunch or peruse the shelves of Home Depot (I’m sure they much rather prefer the lunch option).  While this has worked out to be part of my “quiet” time, it also works out to be my baking alone time.

Don’t get me wrong—I love to bake with the kids, teaching them how to measure and pour, how to mix and blend, how to watch with anticipation as their creation turns into something scrumptious.  But sometimes, it’s just nice to bake alone…sometimes.

So, that leads me to these cupcakes…and the three batches I went through.  I made my first batch, and they actually weren’t too bad.  In fact, Aaron and the kids walked in the door right as I was popping them out of the muffin tin.  Of course, I need someone(s) to be my tasters, so they all dove right in.  I think that they went through 10 cupcakes in no more than 5 minutes.  Either that first batch didn’t really need much tinkering afterall, or they were starved!  While the kids enjoyed them, I thought they had too much spice in them and there was this pesky little dip in the middle…no nice rounded tops.

So, on to batch number two.  I think that my picture speaks for itself (I say with chagrin).

explosion

I mean really…what?????  They started out promising…smelled right, pretty little mounds as they baked, and then SPLAT…like 12 mini freaking volcanoes in my oven!  (soooo glad we went with the double oven feature…and soooo glad that we made the deal a long time ago that if one of us cooks, the other one cleans…hee hee hee).

My third and final batch looked much like my first…pesky little dip in the middle…but Aaron said they far outweigh the first batch in taste.  He actually did a side by side comparison!  Now there’s a taste-tester!  We figured that in the end, the cupcakes would be covered in frosting, so no one would know about the dip.  🙂  I ended up taking the cupcakes to girls night, and I think they were a hit…or maybe it was the margaritas talking?  🙂

Cinnamon Maple Cupcake

1 cup flour

1 tsp baking powder

1/2 tsp salt

1 tsp cinnamon

6 tbsp unsalted vegan butter, at room temperature

3/4 cup plus 2 tbsp sugar

2 tbsp maple syrup

2 Ener-G Egg replacer eggs (3 tsp mixed into 6 TBSP warm water)

1/2 cup almond milk

1 tsp vanilla

Brown Sugar Maple Syrup:

6 tsp water

3 tsp maple syrup

4 tsp light brown sugar

Cinnamon Maple Syrup Buttercream

2 sticks Earth Balance butter (vegan butter)

3 cups powdered sugar

1 tsp cinnamon

¼ cup maple syrup

1 tsp vanilla

2-4 TBSP almond milk

Heat the oven to 350 and position the racks toward the center. Line pans with cupcake papers.

Combine the flour, baking powder, salt and cinnamon in a bowl and gently mix to combine. Set aside.

Cream the butter with the sugar, beating until light and fluffy.  Add the Ener-G eggs one at a time, mixing to combine, then add the vanilla.

Add the flour mix and the almond milk to the sugar mixt, alternating between adding the flour mix and the almond milk, beginning and ending with the flour mix.  Mix until combined.

Divide the batter between the 12 lined cupcake tins and bake for 20-24 minutes.

While the cupcakes are baking, make your Brown Sugar Maple Syrup.

Combine all of the ingredients for the syrup in a small saucepan and place over low heat. Heat the syrup gently just until the sugar melts so that no little grains remain and the syrup is clear.

Remove the cupcakes from the oven and immediately dip the top of each cupcake into the syrup. Place the cupcakes onto a wire rack and set aside to cool completely.

While the cupcakes are cooling, prepare the Cinnamon Maple Buttercream.  Place the butter in a large mixing bowl and beat with an electric mixer until smooth and lighter in color.

Add two cups of powder sugar, one cup at a time.  Add 1-2 TBSP of almond milk, the maple syrup and the vanilla and mix until all of the ingredients are fully combined.

Add the final third cup of powdered sugar and the cinnamon and beat for 3-5 minutes, until your frosting is lighter in color and smooth and creamy.  Add additional almond mild, a little at a time, to thin the frosting, if needed.

Frost away!