Chocolate Plantain Brownies

Brownies 2

Plan-what? Last week, a friend handed over a bag of produce because she was going to head out of town in a few days, and she wanted to make sure that her goods went to good use. Inside the bag was some kale, some celery, bananas, and a bunch of plantains. Kale, celery, and bananas–we can make short work of that in our house.  Plantains?  Now, I like to think that I’m fairly well-versed in the world of produce, and I do know what a plantain is, but admittedly, I’ve never had a plantain.

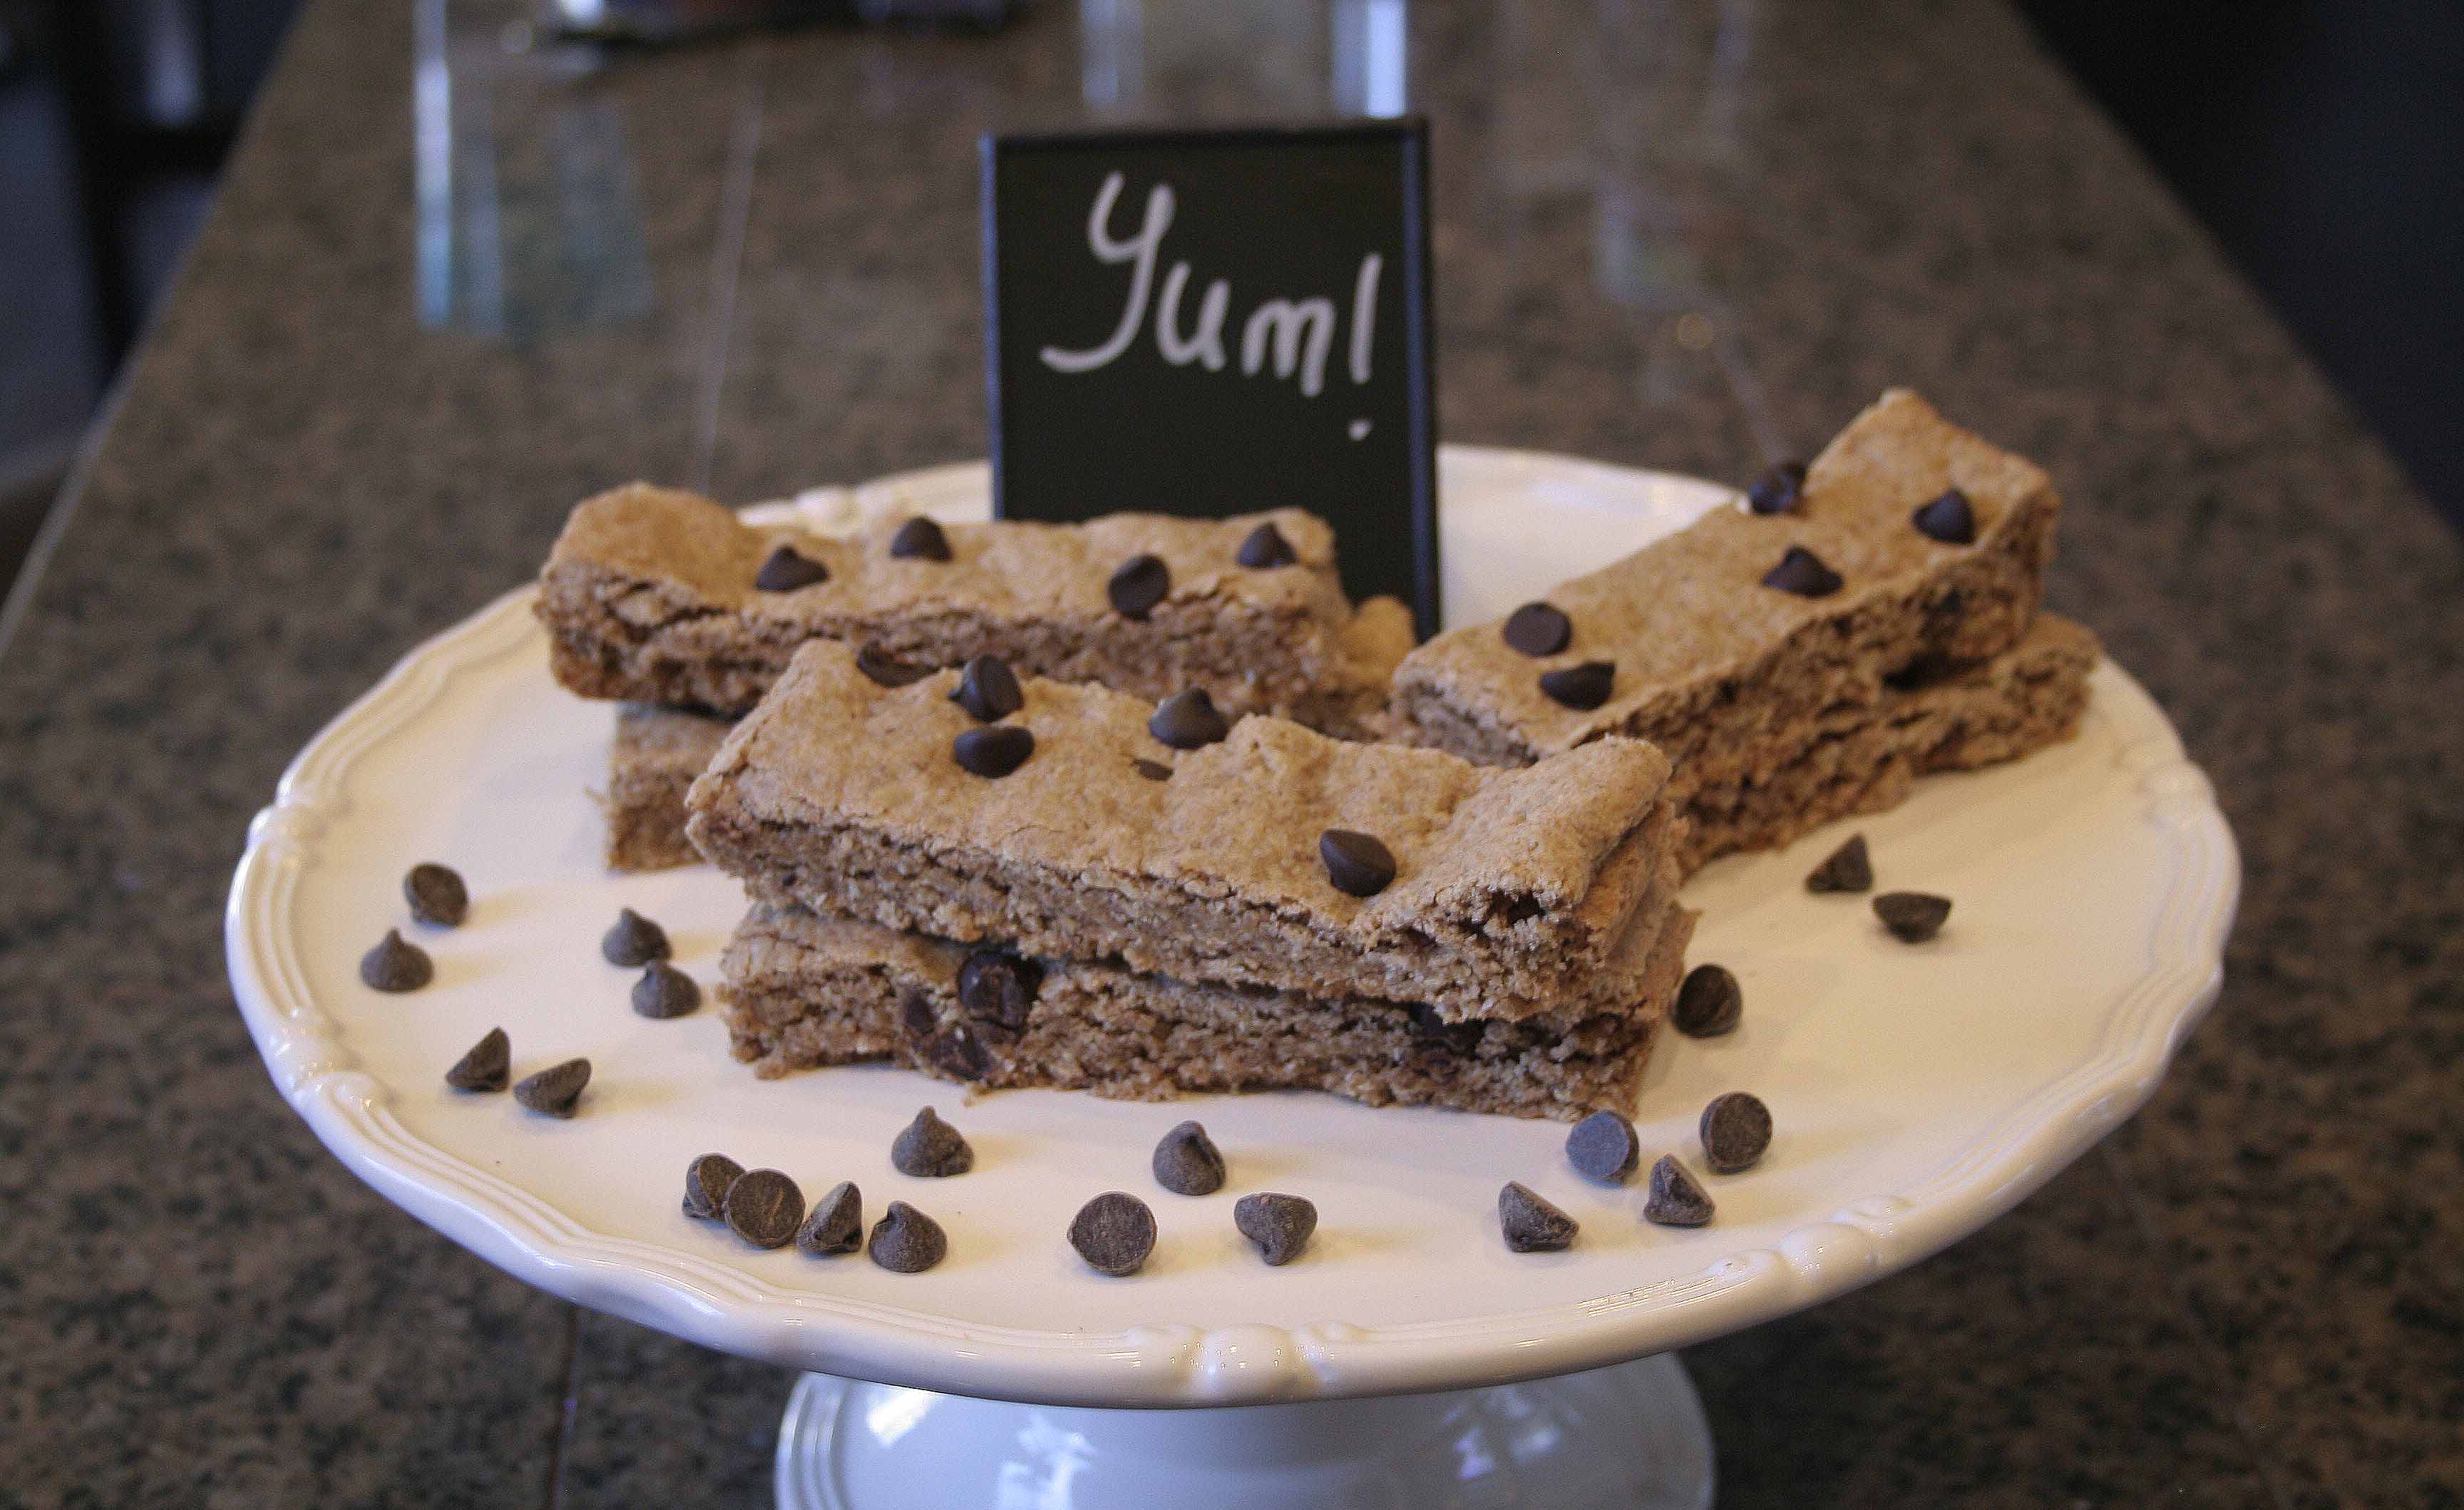
Such began Erika’s research mode. Pancakes, cookies, truffles, bread, tortillas, chips……who knew that there are so many recipes involving plantains out there! Given that I was super hungry during my “research” and that chocolate was seeming to call my name, I settled on brownies.   I don’t know why—maybe because it was way past my bedtime—but the fact that these brownies have no flour of any kind seemed so amazing to me! In my amazement, though, I was skeptical. Could they really turn out cakey like a brownie? Could you really cut them into squares? Could they really taste like a brownie? Well, there’s only one way to find out—you gotta dive right in and try!

First, though, I am going to let you in on a little secret—posting recipes is hard work. I had no idea when I started on this little blogging adventure just how hard! 🙂 I love to bake, I love to share, so what’s the problem? Well—I have a tendency to guesstameasure. Guessta-what? I often find myself putting in a little of this, a little of that, and then palm measuring a good deal. Palm measuring—according to the dictionary of Erika means pouring the ingredients into your palm and guess measuring that it’s the right amount. I know that I’m not the only one to do this ;-), but when you try to write the recipe out for others to duplicate, it makes it a bit more challenging. Sometimes, I find myself going back and redoing the recipe just so I know how much of what I put in–much to our “dismay” when it’s a good recipe! So, what does this little tanget have to do with plantain brownies? Well, when it came to the coconut oil, my ability to actually measure was drained—enter the guesstameasure, and I’m pretty sure that since my brownies were a bit on the oily side (but still oh-so-delicious), I guessed high! So, this would be my only caution with these brownies—don’t use too much oil! 🙂

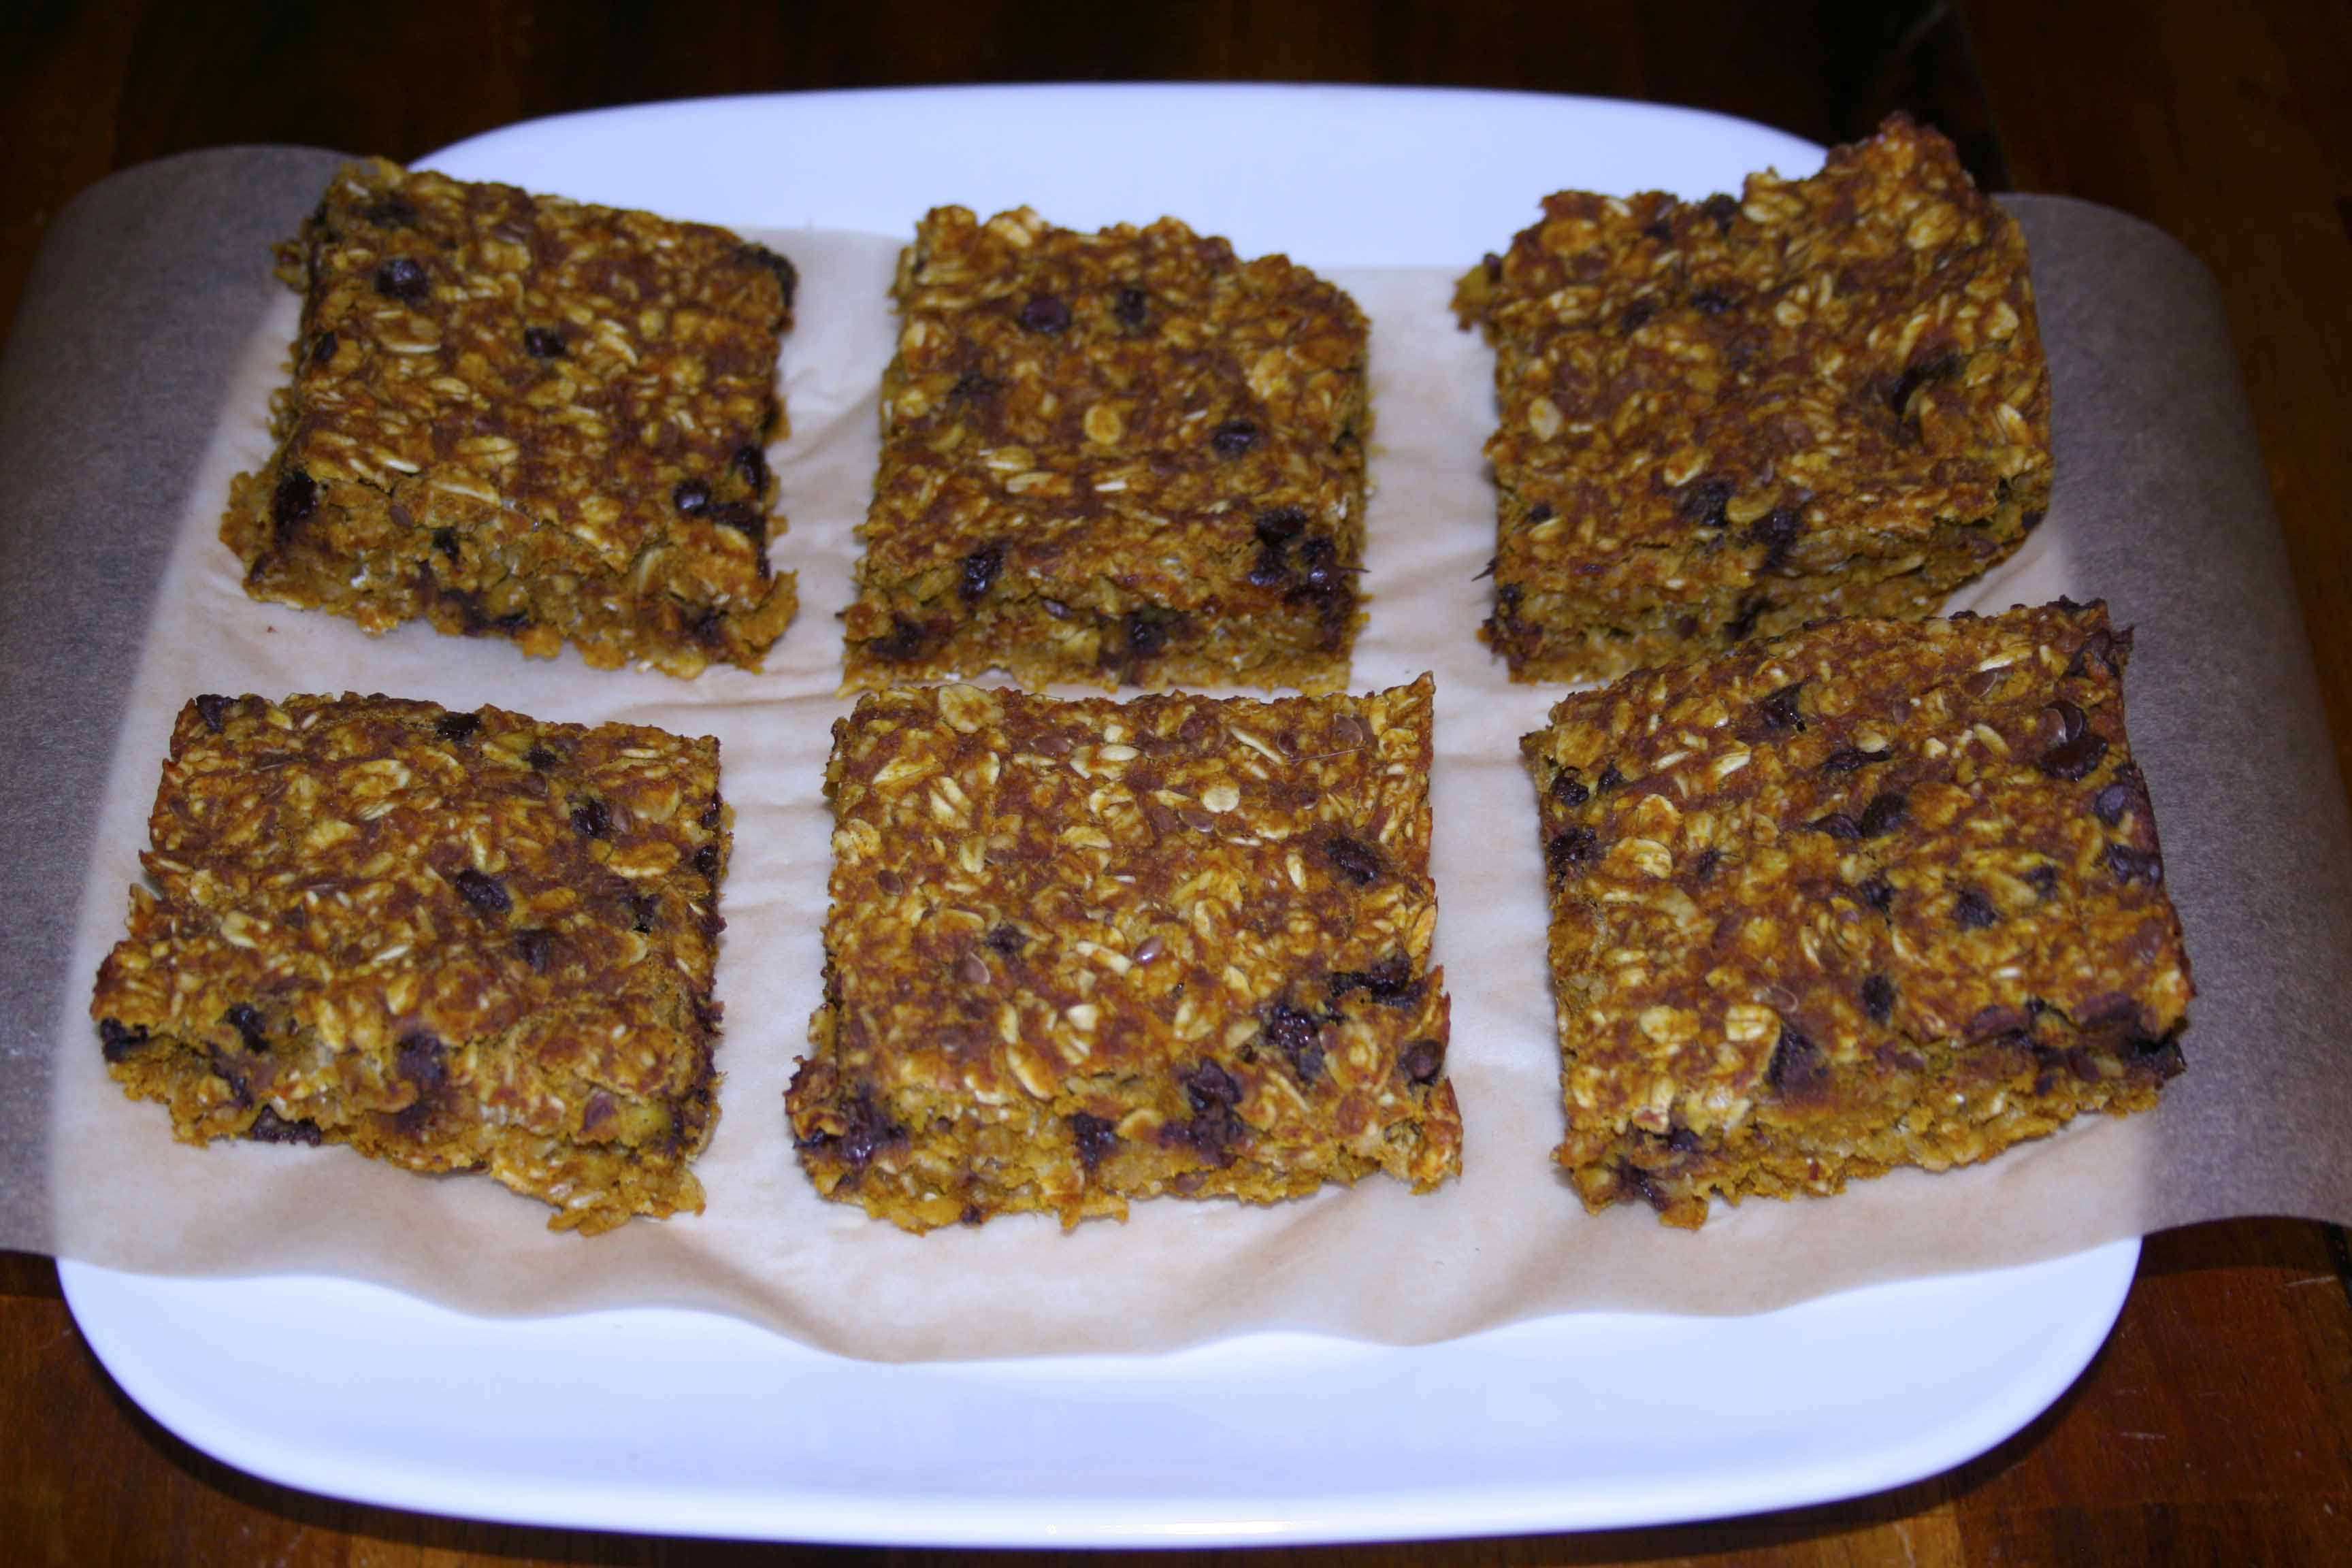
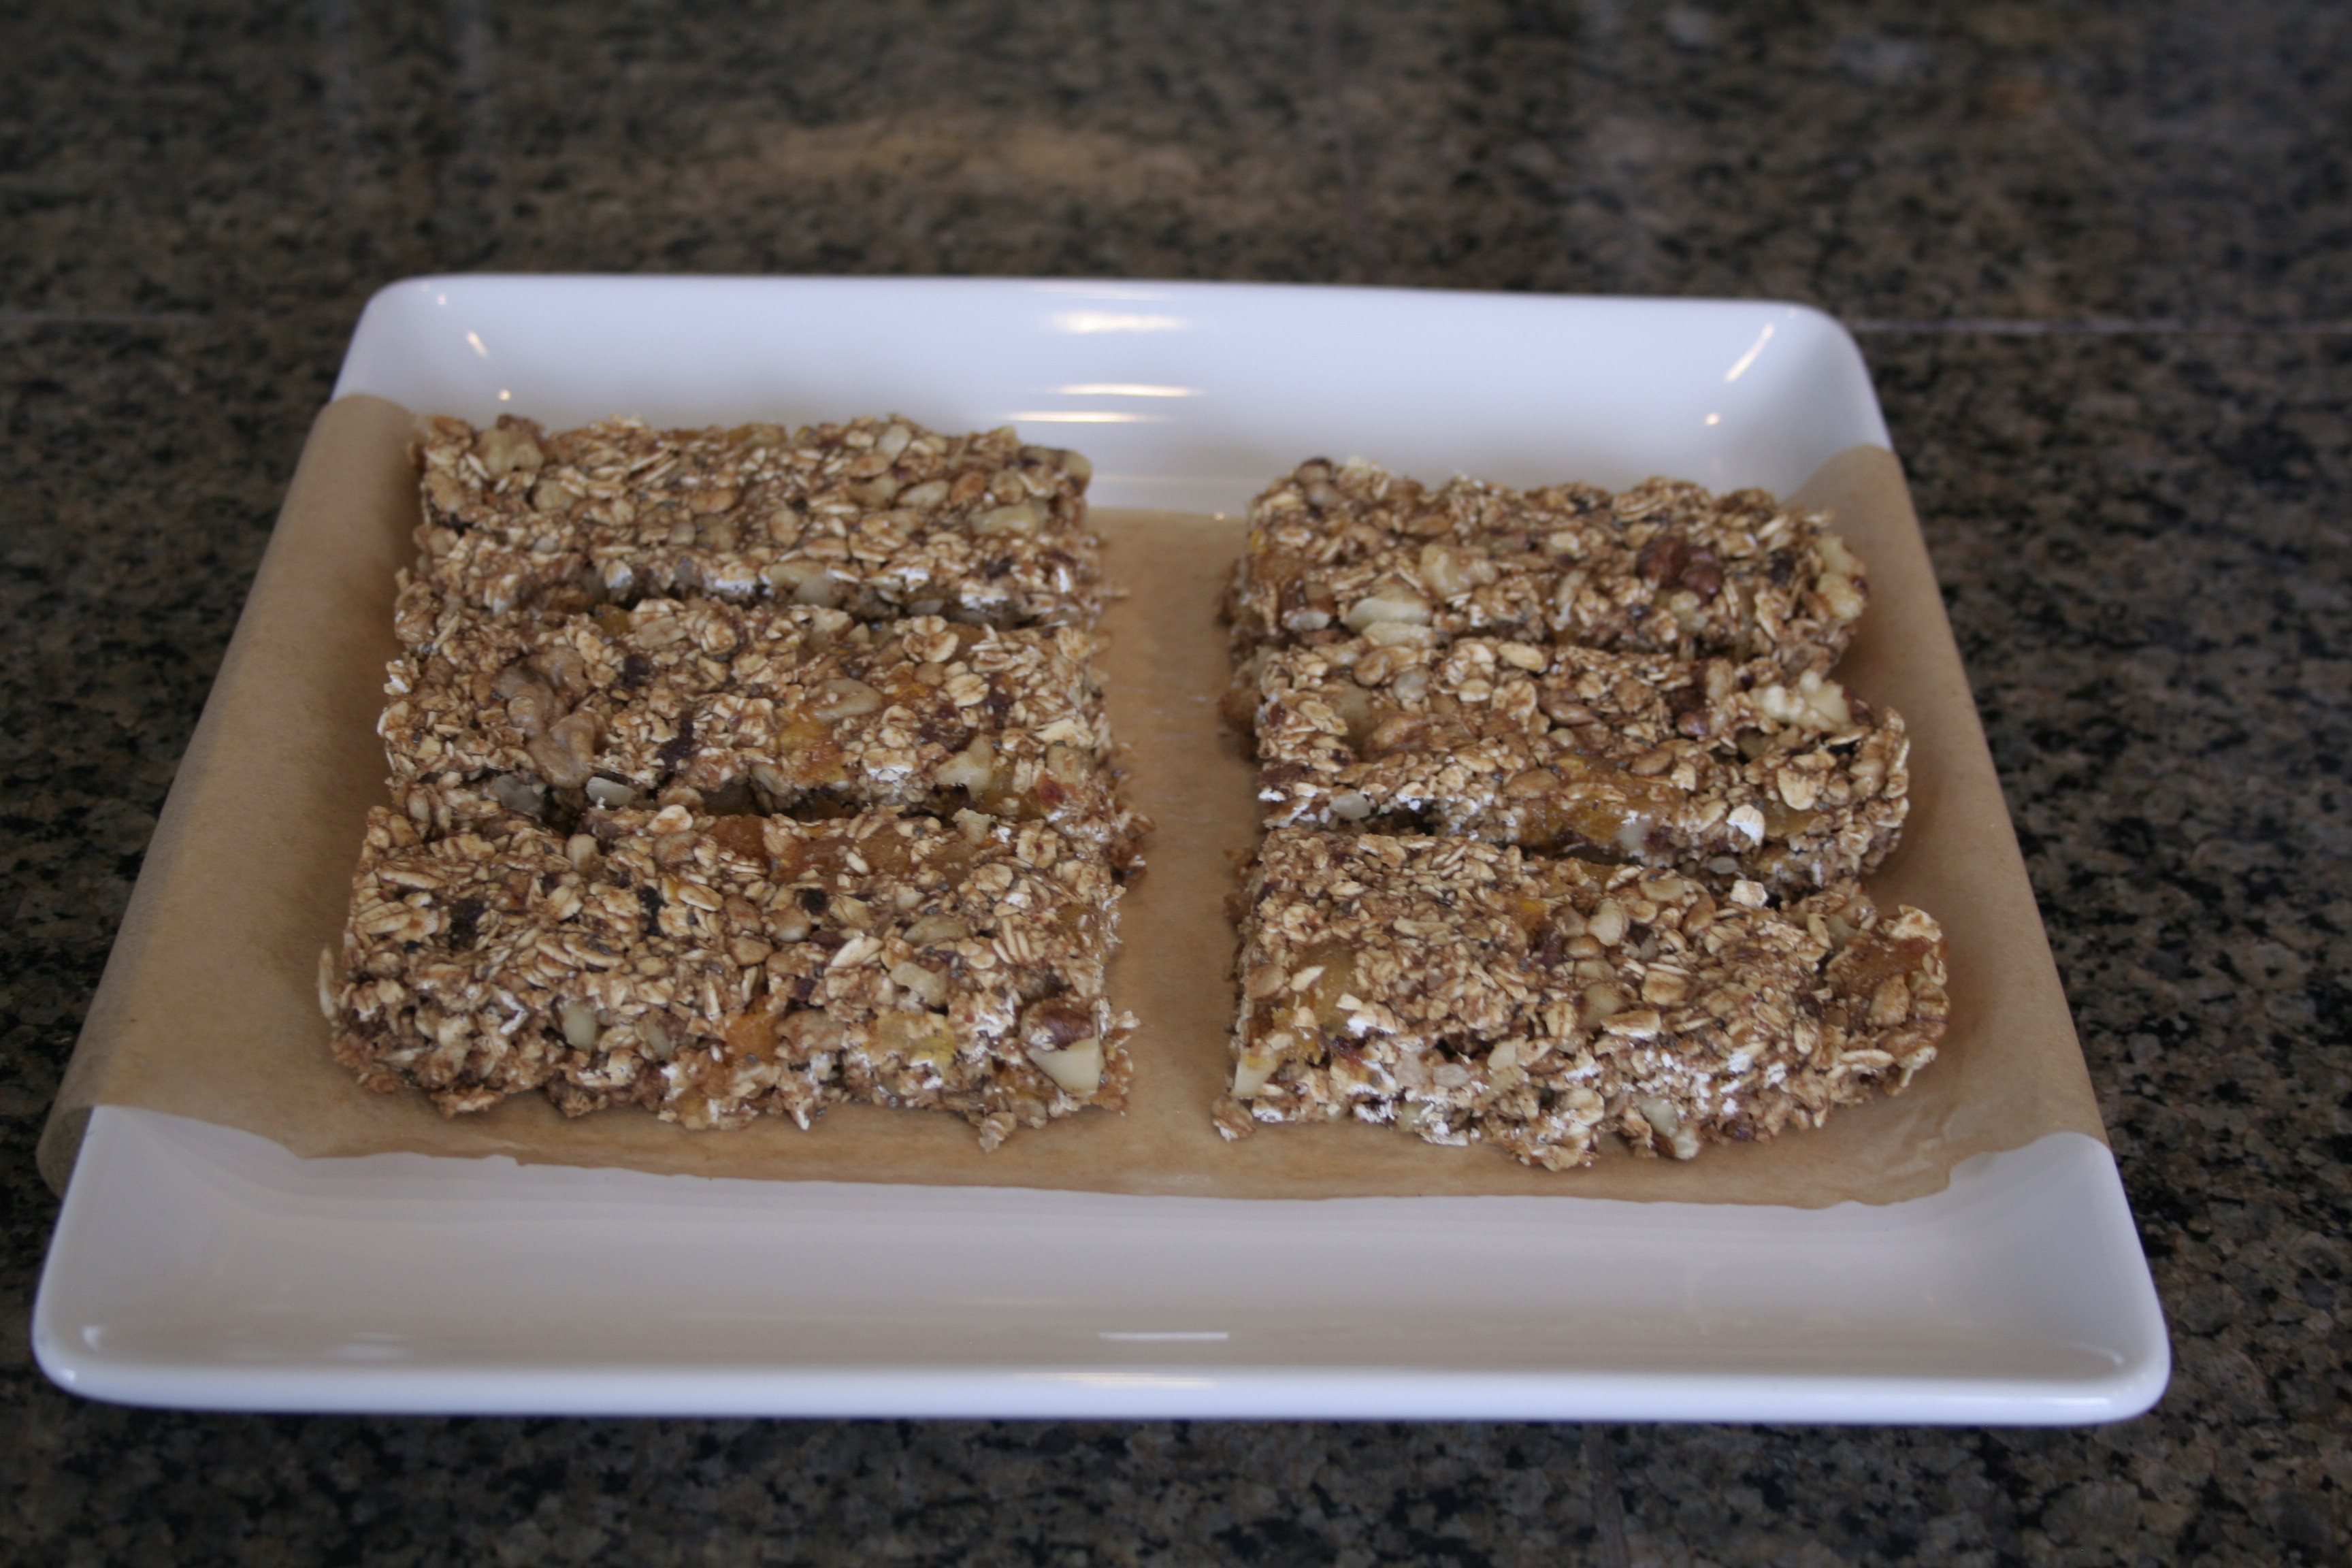
Okay—off tanget now and back to the main topic at hand—these truly scrumptious brownies. They are rich, not too sweet, and I couldn’t tell that there was no flour. Add in that you’re making the batter in a food processor, and you’re golden! 🙂 It’s so simple and ingenious—throw everything in the food processor and turn it on. No mixing ingredients in separate bowls and combining later. No individual beaters to have to wash. A-ma-zing!

Chocolate Plantain Brownies

Adapted from Preparing it Paleo

2 peeled plantains
2 flax eggs (2 TBSP ground flax meal and 6 TBSP water)*
¼ cup melted coconut oil
¼ cup honey
¼ cup unsweetened cocoa powder
1 tsp baking soda
½ tsp baking powder
1 tsp vanilla extract
½ tsp cinnamon
½ tsp salt
1 cup mini chocolate chips

Directions:

Preheat oven to 350F. Peel the plantains and cut each into four sections. Toss plantains and everything but the chocolate chips into a food processor. Blend until you have a smooth batter. Now pulse in the chocolate chips. Pour into an 8-inch square baking pan and bake for 30-35 minutes.

*Make the flax eggs first. After combining the ground flax meal and the water, stick your combo into the refrigerator while you get the rest of your ingredients out. I find that this helps the flax eggs to “gel” up a bit more.

So, if you’re in the mood for something chocolaty and rich that’s also super easy to make, you’ve found it! Or, if you’re just wanting to experiment with plantains, you’ve found it too!

Do you have any favorite recipes with plantains?

Grain-Free Cinnamon Vanilla Granola

Nut granola 5

As we know I love granola…as a cereal, on yogurt, right out of the container. You name it, I love it! Lately, I’ve had some upset stomach issues, and in an effort to rule things out, I stopped eating oats for a bit. Well—no oats?!?!?! What’s a granola-loving girl to do? Improvise of course!

I found this recipe from Against All Grain for a completely grain free granola, so I thought that I’d give it a shot—couldn’t be all bad, right? I made a few adjustments (like maple syrup for one) to make it a bit more true to my tastes, and I must say…it is pretty good!

I did try the granola as a cereal, and I will admit that I wasn’t overly excited—because the granola is mainly nuts and I was too impatient to fully cook it, it didn’t soak up the almond milk like a more traditional granola does—not as satisfying. That hasn’t stopped me though! My favorite way to eat it has been to throw in some dried blueberries and then snack on it throughout the day. There’s something about the granola with it being just slightly moist with a bit of a chew to it (I know that sounds weird, but it is so satisfying!), and throwing in the dried blueberries adds a bit of extra sweetness—mmm…mmm…truly scrumptious! I’ve seriously been carrying around a little Tupperware and a spoon each day, to and from meetings, sneaking bites as I can (nobody was looking…right?!?!?!).


Grain-Free Cinnamon Vanilla Granola

  • 3 cups mixed raw nuts (I used a mix of pecans, walnuts, hazelnuts, cashews)
  • 1/4 cup raw sunflower seeds
  • 1 tablespoon golden flax seeds
  • 1 tablespoon chia seeds
  • 1 tablespoon hemp seeds
  • 2 tablespoons coconut oil, melted
  • 1 tablespoon cinnamon
  • 3/4 cup maple syrup, melted
  • 1-1/2 tablespoons vanilla
  • 3/4 teaspoon sea salt (plus 1 teaspoon for soaking water)
  • 1 cup shredded coconut, unsweetened
  • Optional: 1 cup of dried fruit of your choice (raisins, blueberries, cranberries, etc)

Instructions:

  1. Soak all of the nuts in enough water to cover them and mix in 1 teaspoon of salt. Cover, and soak overnight, changing out the water one time. Soak the sunflower seeds in a separate bowl, following the same procedure as above. Note that if you use cashews, they will take on a brownish/purplish color—since everything gets processed, you won’t notice later.
  2. Drain the nuts and seeds and place on a paper towel to absorb the remaining water. Keep half of the sunflower seeds separate.
  3. Place all of the nuts and half of the sunflower seeds in the bowl of a food processor. Grind them until they resemble the size of oats.
  4. Add in the coconut oil, cinnamon, maple syrup, vanilla, sea salt. Pulse until combined.
  5. Next, add last half of the sunflower seeds, flax seeds, chia seeds, and hemp seeds, and pulse once or twice, until they are roughly chopped and mixed into the nut mixture.
  6. Remove the blade, then mix in the shredded coconut with a spoon. Turn the mixture out onto 3 parchment covered dehydrator trays. Spread it evenly into a thin layer.
  7. Bake in your oven on the lowest setting for 3-4 four hours, or until free of moisture (I wanted mine slightly chewy, so I took it out a little early).
  8. Let cool completely before adding any mix-ins (it will crisp as it cools) and then store in an airtight container for 2-3 weeks. 


I just ran out of this granola today, and I’m totally bummed! Aaron’s going to have to make a run to the store so I can work on a batch to take with me the rest of the week! 😉

What’s your favorite carry-around snack?

Pumpkin in April

Bars

Pumpkin in April? I know, I know…pumpkin is best saved for fall, right? Getting off of work today and driving home, I drove right into a peaceful, beautiful snowfall. Umm, hello? Snow in April? Welcome to Colorado! Just last weekend I was planning my vegetable garden and prepping the back garden beds for wildflower seeds (I’m envisioning a cascade of colors!), and today we have a thick, wet snowfall! So, today, all I could think about was getting home, putting on snuggly clothes, grabbing a cup of tea, and snacking on something warm and sweet. So, right after dinner, I donned my yoga pants and giant pink Crocs, cranked up Mariah (Carey that is), and I got to work!

The kids rotated through taking showers, doing homework packets, and doing their nightly reading time (some nights it just goes so smoothly…others…well…), and I putzed—yes I said putzed—around the kitchen. I pulled out all of my pumpkin friendly spices and finally settled on a few of my faves—helloooo cinnamon and maple! Armed with pumpkin and spices, I settled on oatmeal squares which will be perfect for the kids to take for snack after I’ve had my turn 🙂 Seeing that these little treats aren’t just for my indulgence, I let my mommy-guilt kick in a notch and threw in some wheat germ and flax seeds—and then some mini chocolate chips. If they’re mini, then they’re not too bad for you, right? I actually had every intention of adding walnuts to the mix, but in my excitement over the mini chocolate chips, I completely forgot! So, in case you’re interested in adding them, I put them in the ingredient list below 🙂

I’m super excited to sit and watch my “programs” tonight while I snuggle on the couch with the hubs, my cup of hot tea, and my oat square…or two…or three! The kids are going to love their snacks at school!!

Pumpkin Spice Oat Squares

2 cups oats
3 TBSP wheat germ
2 tsp cinnamon
¼ tsp ground ginger
Pinch allspice
Pinch cloves
½ tsp salt
1 cup pumpkin
2 tsp vanilla
¼ cup applesauce
3 TBSP maple syrup
½ cup brown sugar
¼ cup mini chocolate chips or chopped walnuts (or both)

Directions:
1. Preheat oven to 350. Line an 8-inch square pan with parchment paper that overhangs an edge (in order to lift the bars out of the pan)
2. In a large bowl, combine the dry ingredients—the oats, wheat germ, cinnamon, ginger, cardamom, allspice, cloves, and salt.
3. In a medium bowl, combine the wet ingredients—the pumpkin, vanilla, applesauce, maple syrup, and brown sugar.
4. Mix the wet ingredients into the dry ingredients and stir to combine.
5. Mix in the mini chocolate chips and/or walnuts.
6. Press the mixture into the pan. Bake for 35-40 minutes.

So, what do you think? Can pumpkin be a spring treat too? 

Patterson’s Bars

Blog 066

Happy mid-week ya’ll!  I am super excited that today is Wednesday because it means I have one more sleep until I get back home to Aaron and the kids!!!  I’ve been gone since Sunday night on a recruiting trip for work in Michigan and now in Chicago—thank goodness for texting, picture messages, and FaceTime.  Lucky for this mommy, we’ve been so busy on our trip that there hasn’t been much time to sit and miss the family—I literally fall into bed each night, and I’m OUT.

Because I knew I’d be travelling this week (and because a friend asked me to come up with a yummy granola bar that she could make gluten free), and sometimes it can be a bit challenging to find some healthy, vegan, easy to grab foods along the way, I made up a batch of granola bars to bring along.  I don’t prefer crunchy granola bars, so I wanted to make something that was sweet, chewy, and packed a little health kick.

Since Mads “says” she doesn’t like things with peanut butter in them, I added some natural almond butter (gotta appease my taste testers ya know), which is great because you’re not adding a bunch of extra processed sugar this way.  Originally, I wanted to add some dried cranberries to the recipe, but we know Jax’s opinion on dried fruit, a.k.a. dead bugs.  I actually tried to trick him a little by convincing him to eat a craisin without showing it to him, but he’s a smartone, he is.  He wouldn’t fall for it—not even a little.  So I compromised and added some chopped apricots—and let me tell you—smelling them bake was dee-vinely scrumptious!  My mouth watered at that smell alone!  For added health factor, we threw in some chia seeds, and they just disappeared into the mix.  So, please add them, try them, start using them if you don’t already.  In fact, I may add more the next time I make these bars!

When buying your ingredients for this recipe, I sent Aaron out to the store, asking for some dates.  He did his best and brought back a bag of dried chopped dates.  These worked great, especially since they were a bit cheaper than the dates you find in the produce section.  If you opt for fresh dates, I would skip the rehydration process of soaking them in water.  When it came to “stirring” all of the ingredients together, I ended up going all handsy—squishing and squeezing.  If you note the spatula in the picture, that may have had something to do with it (see the cute little snowmen!).  Since I have issues with getting stuff on my hands, this really turned into a way to push myself—gotta love working on your issues while you create things!

I’ve been enjoying these bars, and most of the kids have been too—or so Aaron tells me!  Now, I’m off to listen to some sweet Chicago jazz tunes for the evening!

Sweet Granola Bars

1 cup dried chopped dates
1/3 cup dark maple syrup
1 tablespoon brown sugar

1 tablespoon almond butter
1 teaspoon ground cinnamon
1 teaspoon vanilla extract
2 1/2 cups rolled oats, divided
1/2 cup chopped dried apricots
2/3 cup chopped walnuts

1 tablespoon chia seeds
1/3 cup sunflower seeds

Directions:

1. Preheat the oven to 325 degrees F. Line an 8×8-inch or 9×9-inch baking dish with parchment paper, leaving a 2-inch overhang on 2 sides. Spray with nonstick spray.

2. In a heat-safe bowl, cover the dates with hot water. Soak for 10 minutes. Drain and place in the bowl of a food processor fitted with the steel blade. Add the syrup, brown sugar, almond butter, cinnamon, and vanilla. Process to form a thick paste, about 20 seconds (stopping to scrape down the sides of the bowl once or twice with a rubber spatula). Add 2 cups of the oats and pulse 8 to 10 times, until the oats are coarsely chopped. Transfer the mixture to a large mixing bowl. Stir/combing in the remaining 1/2 cup oats, apricots, nuts, chia and sunflower seeds.

3. Using slightly dampened hands, press the mixture firmly and evenly into the prepared pan. Bake for 25 to 30 minutes.

4. Cool the dish for 15 minutes at room temperature, then transfer to the freezer and chill until completely cooled (about 30 minutes). Cut into 10 or 12 bars. Store in an airtight container at room temperature.


Kid Approved Snack Bars

Bars 001a

Ravenous!  This has been my children lately…absolutely ravenous!  I mean seriously, you’d think that we didn’t feed them or something.  I have to believe that they’re going through a growth spurt…yes…all five…at the exact same time.  It could happen.  And their pants?  Seriously.  When did the kids suddenly start preparing for a flood?  How are we supposed to keep up?!?!?!

Aaron and I have quickly realized that we have to be thoughtful about our choice of snacks for the kids.  Too light of a snack and they’re begging for more in 10 minutes.  Too much and they’re “ughh…soooo full” when it comes to dinner (until suddenly it’s dessert time—then miraculously, they’re hungry again!).  The kids are perfectly happy when we open a box of crackers or cut a piece of fruit, but they love it when they get a homemade snack.  I mean, who wouldn’t want a fresh from the oven, made with mom’s luvin homemade snack?  Really?  Who wouldn’t?

These bars definitely meet these requirements—they’re delicious, full of good for yous, and keep you satisfied much longer than the store bought granola bars.  When you make them, the bars originally puff up and look cakey, but as they cool, they settle into themselves, becoming a thicker, scrumptious, yum-packed bar.  At first, I thought that the bars looked like they were dried out a bit, but it was an optical illusion…one bite and you sink right into dense, moist yum.  The recipe below calls for dark chocolate chips, but you could really put any “additional” item in there that you want.  I’ve done raisins, dried cranberries (until Jax declared that dried fruit is really just dead bugs…ummm…what?  Way to ruin that one buddy), and M n M’s.  So far, the M n M’s have been the biggest hit, but for some reason, I feel a little better about chocolate chips.  Maybe because they’re not “really” candy, so they must be healthier.  Who’s with me?


Oatmeal Protein Granola Bars

½ cup + 6 TBSP softened vegan butter

¼ cup coconut oil (not melted)—I’ve also used peanut butter which works great, but one of the girls “says” she doesn’t like peanut butter, so I change it up for her

1 cup brown sugar

¾ cup granulated sugar

2 flax eggs (2 TBSP flax meal + 6 TBSP water mixed together)

3 TBSP water

2 tsp vanilla

1 tsp baking powder

1 tsp baking soda

1 ½ tsp cinnamon

½ tsp salt

1 ¾ cups whole wheat flour

2 scoops protein powder

3 cups old fashioned oats

1 cup chopped nuts

1 cup add in (chocolate chips, dried fruit, etc)

Preheat the oven to 325.  Line an 11×15 baking pan with foil, leaving two inches hanging over the short edges.  This will help to lift the bars out of the pan.  Spray the foil with cooking spray.

In a large mixing bowl, cream together the butter, coconut oil (or peanut butter), brown sugar, and granulated sugar until well mixed.  Whip in the flax eggs, additional water, and vanilla.  In a separate bowl, combine the flour, protein powder, baking soda, baking powder, cinnamon, and salt.  Stir the flour mixture into the butter/sugar mixture.  Stir in the oatmeal, nuts and any add-ins until thoroughly mixed.

Place the dough into the prepared pan.  With slightly wet fingers, press into the pan, spreading the dough out.  Bake for 15 minutes.

At the 15 minute mark, lightly cover the pan with foil and bake for an additional 15 minutes.  Because the mixture poofs up a bit, the edges may get a bit darker, so the foil will prevent too much darkening.  Remove from the oven and allow to cool in the pan.  The bars will “give” if touched but will firm up as they cool.  Once the bars are cool, remove them from the pan, using the hangover foil and cut into bars.  Makes 20-25 bars.